Start small and choose a forgiving first model
For your first project, choose a miniature with clear shapes and a few large areas, such as a cloaked adventurer or a creature with prominent armor. A model covered in tiny straps and ornaments may look exciting, but it asks you to make many decisions before you have practiced holding a brush. The goal is not to produce a display piece. It is to learn the sequence from bare model to finished game piece.
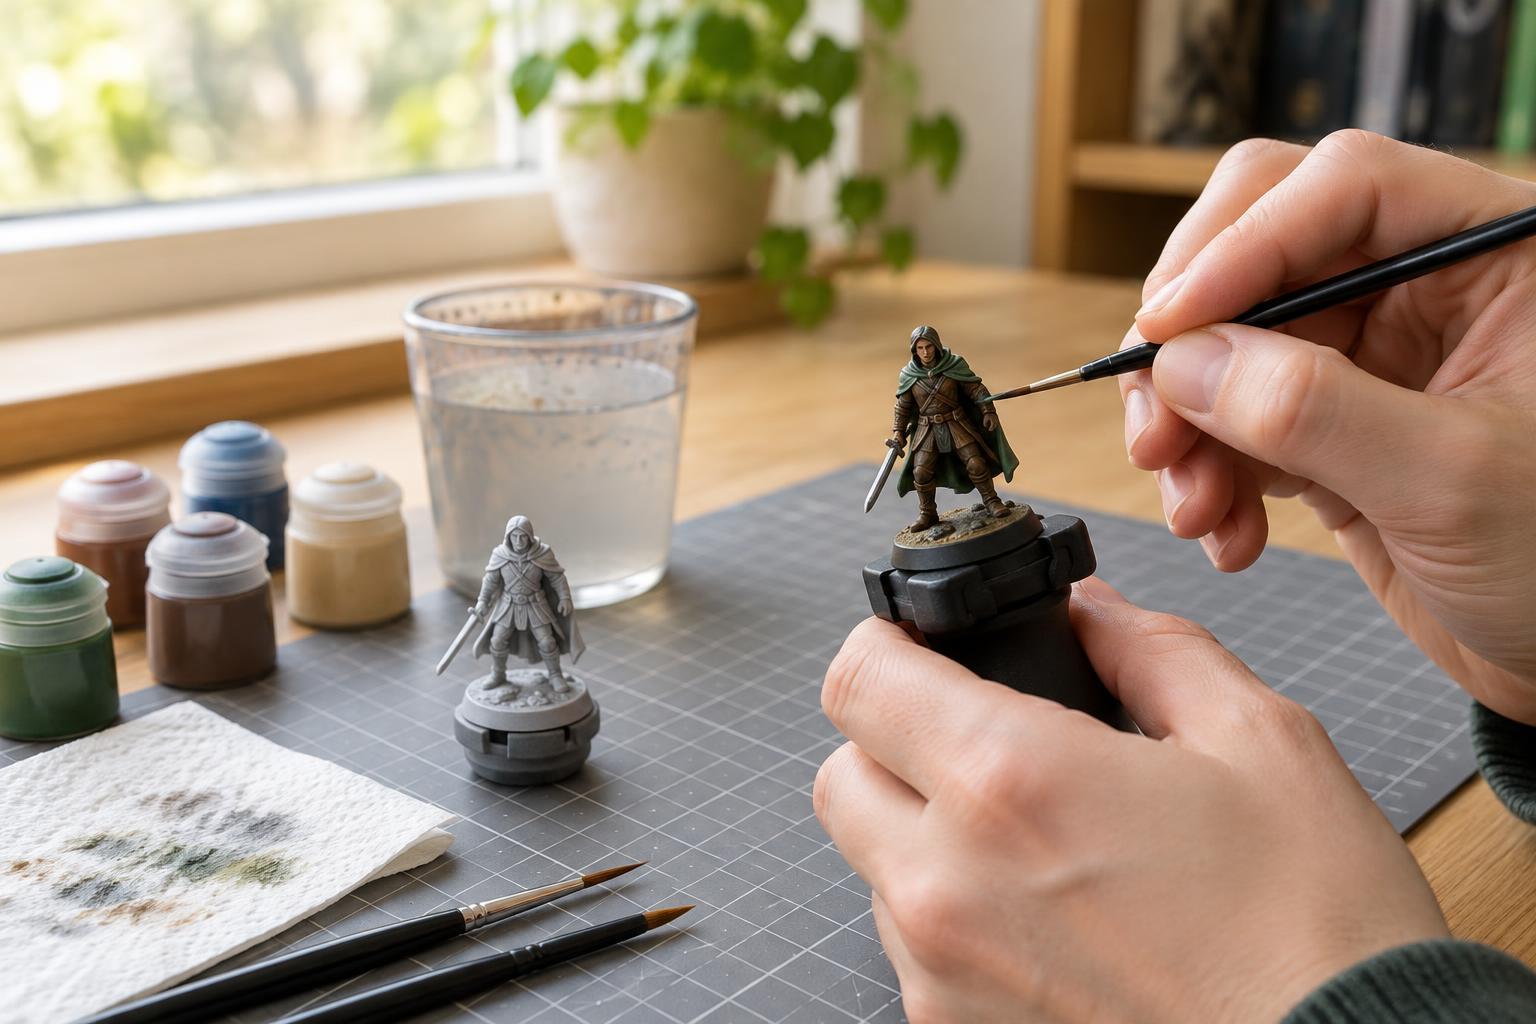
Before painting, look over the miniature in good light. If there are raised lines left from manufacturing, gently scrape them with a hobby knife or fine file, working away from your fingers. Wash the model with mild soap and water if it feels greasy or dusty, then let it dry fully. Attach it to its base if that makes it easier to handle. Holding the base rather than the figure helps keep skin oils off the surfaces you plan to paint.
Gather a compact set of tools
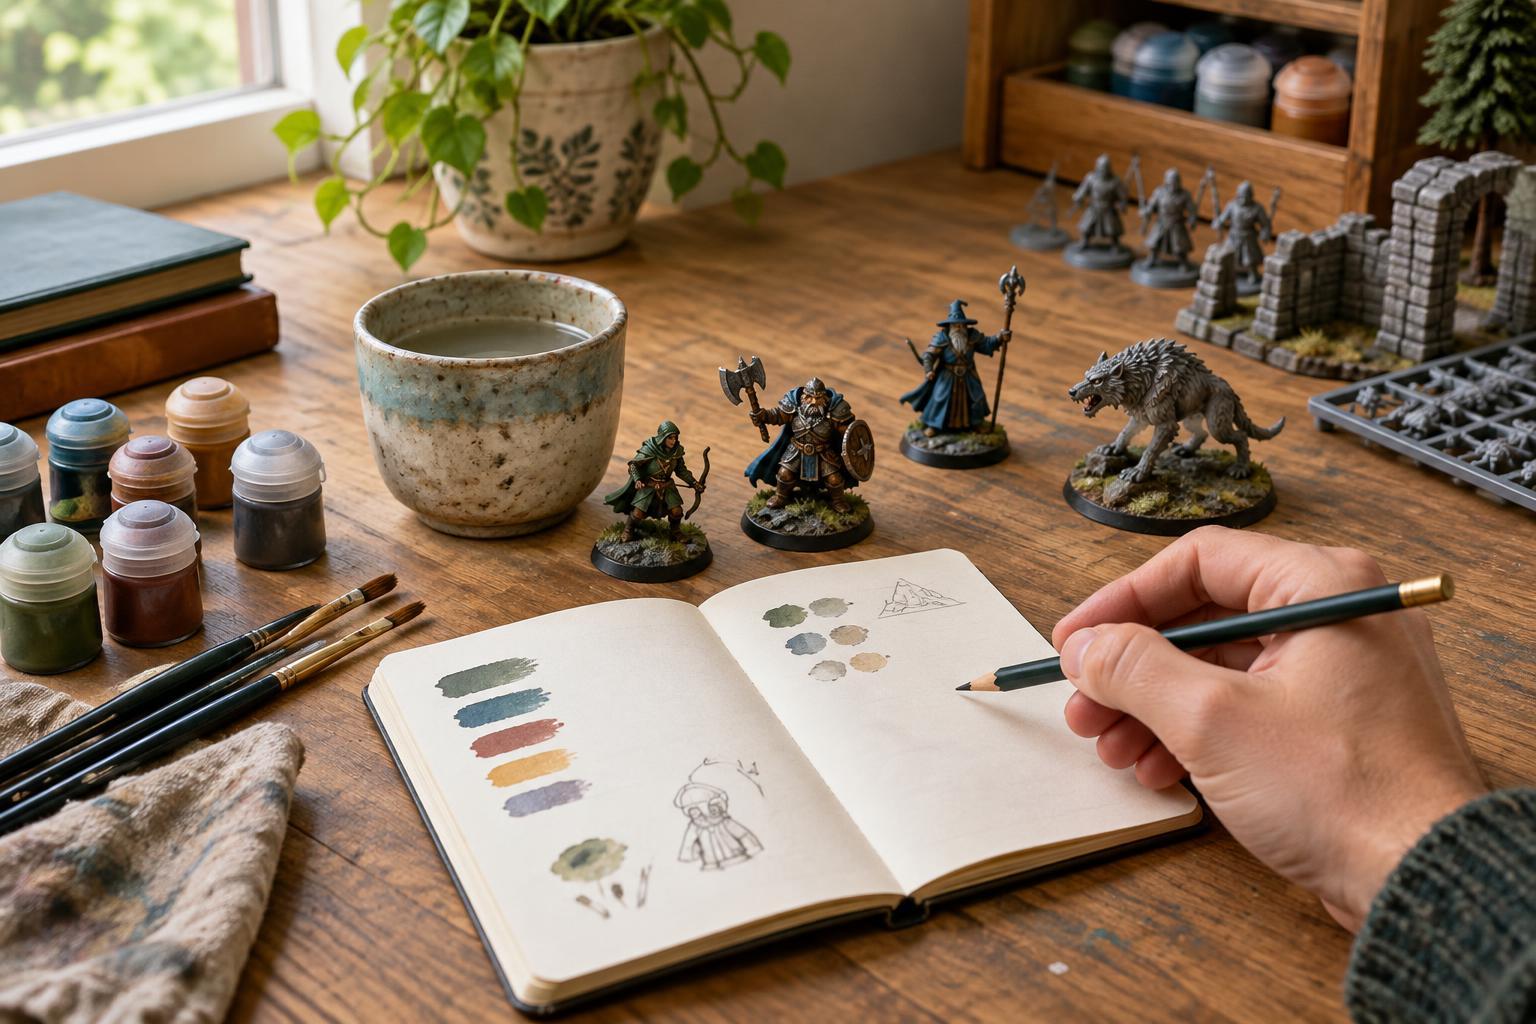
You can begin with a small selection of water-based acrylic miniature paints: a dark neutral, a light neutral, and a few colors that suit your model. Add one medium-sized brush with a good point for most work and an inexpensive older brush for rough jobs. A very tiny brush is not essential; paint control often comes more from a pointed tip and a steady hand than from short bristles.
You will also need a cup of water, a cloth or paper towel, and a palette. A smooth plate works, though a wet palette can help acrylic paint stay workable longer. Put a desk lamp where it lights the front of the model without casting a strong shadow from your hand. Keep drinks separate from your painting water, and rinse brushes promptly rather than letting paint dry near the bristles’ base. Paint, primer, a few brushes, and a comfortable workspace are enough to complete a first miniature.
Prime for a surface paint can grip
Primer provides a consistent surface for your colors and makes missed spots easier to see. Choose a primer intended for miniatures or compatible with your model’s material, and follow its label. Gray is a flexible first choice: it shows detail without making every color as hard to cover as black can. White can suit a bright scheme, while black makes deep recesses less noticeable.
Brush-on primer is useful if you cannot spray outdoors in suitable conditions. Apply it in a thin, even coat, avoiding pools around faces and fine details. If you use spray primer, follow the product’s ventilation, distance, and temperature directions; do not treat a room with an open window as a substitute for an appropriate spraying area. Let the primer dry as directed before painting. A little visible texture is not a disaster, but a thick coat can obscure detail, so resist the urge to cover everything in one heavy pass.
Paint in simple, manageable stages
Pick three or four main areas before you start: perhaps fabric, armor, skin, and equipment. Place a little paint on your palette and add a small amount of water until it flows off the brush smoothly without flooding the miniature. Test it on a hidden area. Apply base colors one area at a time, allowing each coat to dry before adding another. Two thin coats often give you more control than one thick coat.
Next, add depth. A ready-made wash, used sparingly, can settle into folds and gaps; guide away any large puddles with a clean, slightly damp brush. Once dry, bring back the main color on raised surfaces, leaving the darker recesses visible. For a simple highlight, mix a little lighter paint into your base color and touch the edges that would catch the light. You can leave eyes, tiny buckles, and elaborate patterns for a later project. Clear separation between larger areas matters more on the tabletop than every detail being picked out.
Finish, assess, and learn from the result
When the colors are dry, check the model at arm’s length as well as up close. If an area looks muddy, restore its base color in a thin layer. If two parts blend together, a narrow dark line or a little contrast on their edges may help. Paint the base a simple neutral color, or add a small amount of texture if you enjoy that part of the hobby. A compatible protective varnish is optional for figures that will be handled often; follow its instructions and test unfamiliar products before using them on a favorite model.
Put the finished miniature beside the games you painted it for. Note one thing you like and one thing you want to practice next time, such as smoother coats or cleaner edges. That is a more useful measure of progress than comparing your first figure with someone else’s most polished work. Each completed model teaches you how your paints, brushes, and hands work together.