Start with a clean surface and a simple plan
Basecoating, washing, and drybrushing form a useful sequence for painting gaming miniatures. A basecoat establishes the main colors. A wash darkens recesses to make details easier to see. Drybrushing catches raised surfaces with a lighter color. You can use all three on a single figure without trying to paint every tiny feature.
Before painting, remove any obvious molding marks and make sure the miniature is clean and dry. If the material and paint you use call for a primer, apply one suitable for the model. Primer helps give later coats a consistent surface, but it should not bury fine detail. Let each preparatory layer dry according to its product directions before moving on.
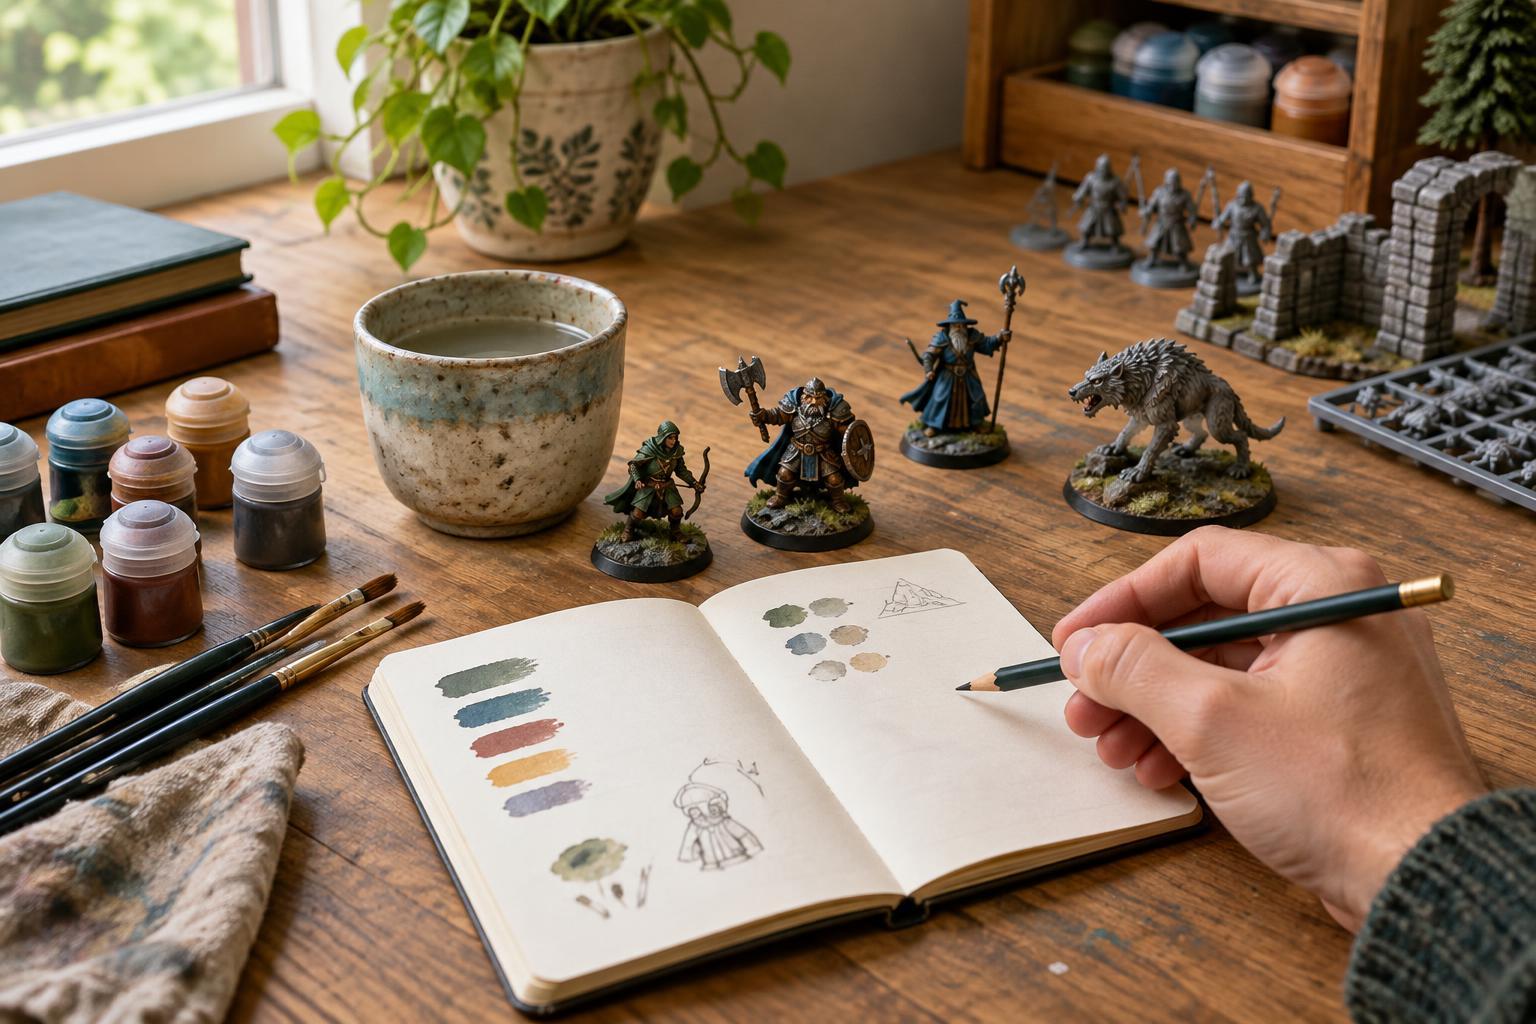
Choose a modest palette: perhaps one color for clothing, one for armor or equipment, one for skin, and a neutral color for the base. Decide which areas will receive a wash and which have enough raised texture to benefit from drybrushing. Fur, stone, chain mail, and rough fabric are often easier places to practice than smooth faces or flat armor plates.
Basecoating: give each area a clear color
Basecoating means covering an area with its main color as evenly as you can. Put a small amount of paint on a palette and thin it only as needed for the paint and surface you are using. It should flow from the brush without forming heavy ridges or flooding nearby details. If the first pass looks patchy, let it dry and add another thin coat rather than pushing more wet paint around.
Work from larger areas toward smaller ones. Paint the cloak before its straps, for example, so you can tidy the edges afterward. Load only the front portion of the bristles, then use the brush tip to approach boundaries. A comfortable grip and a hand resting on the table can help with control; perfect lines are not necessary at this stage.
Allow neighboring colors to dry before correcting mistakes. Basecoating is also a good time to leave a little contrast between materials. A dark brown belt against a pale tunic will read more clearly at tabletop distance than two similar midtones. Check the miniature from that distance now and then, not only from a few inches away.
Washing: deepen the recesses without staining everything
A wash is a thin, flowing color used to shade grooves, folds, and joins. You can use a ready-made miniature wash or a suitably thinned paint, though the two may behave differently. Test your choice on an unobtrusive area first. With a moderate amount on the brush, guide the wash into the details rather than covering the entire figure at once.
Watch for puddles on broad surfaces and at the bottom of the model. While the wash is still wet, touch a clean, slightly damp brush to a pool to lift away excess liquid. Avoid repeatedly brushing an area as it starts to dry, which can leave uneven marks. Give the wash time to dry fully before judging the result; wet shading can look much stronger than the finished surface.
Not every area needs the same wash. A dark wash may help define metal or deep fabric folds, while a gentler shade may suit pale clothing or skin. If a wash makes a raised area too dark, you can restore its original base color there with a careful layer after drying. Think of the wash as a way to place shadows, not as a required bath for the whole miniature.
Drybrushing: bring texture back into the light
Drybrushing uses a brush with very little paint left in its bristles. Dip into a lighter color, then wipe most of it off on a palette, paper towel, or other scrap surface. Try a few strokes on that surface first. When the brush leaves only a faint mark, sweep it lightly across the raised parts of the miniature. Texture should catch the paint while recesses stay darker.
Build the effect gradually. Several light passes give you more control than one heavy pass that coats everything. For a stone base, you might begin with a dark gray basecoat and wash, then drybrush with a lighter gray. On fur, move the brush across the direction of the sculpted strands so their tips pick up color. A softer or older brush can be useful because drybrushing is harder on bristles than ordinary basecoating.
Drybrushing can look dusty on smooth areas, where a carefully painted highlight may be cleaner. If the result becomes too bright, a thin layer of the base color or a restrained wash may soften it. Stop when the shape reads clearly; additional passes are optional, not a measure of whether the miniature is finished.
Put the techniques together on one small project
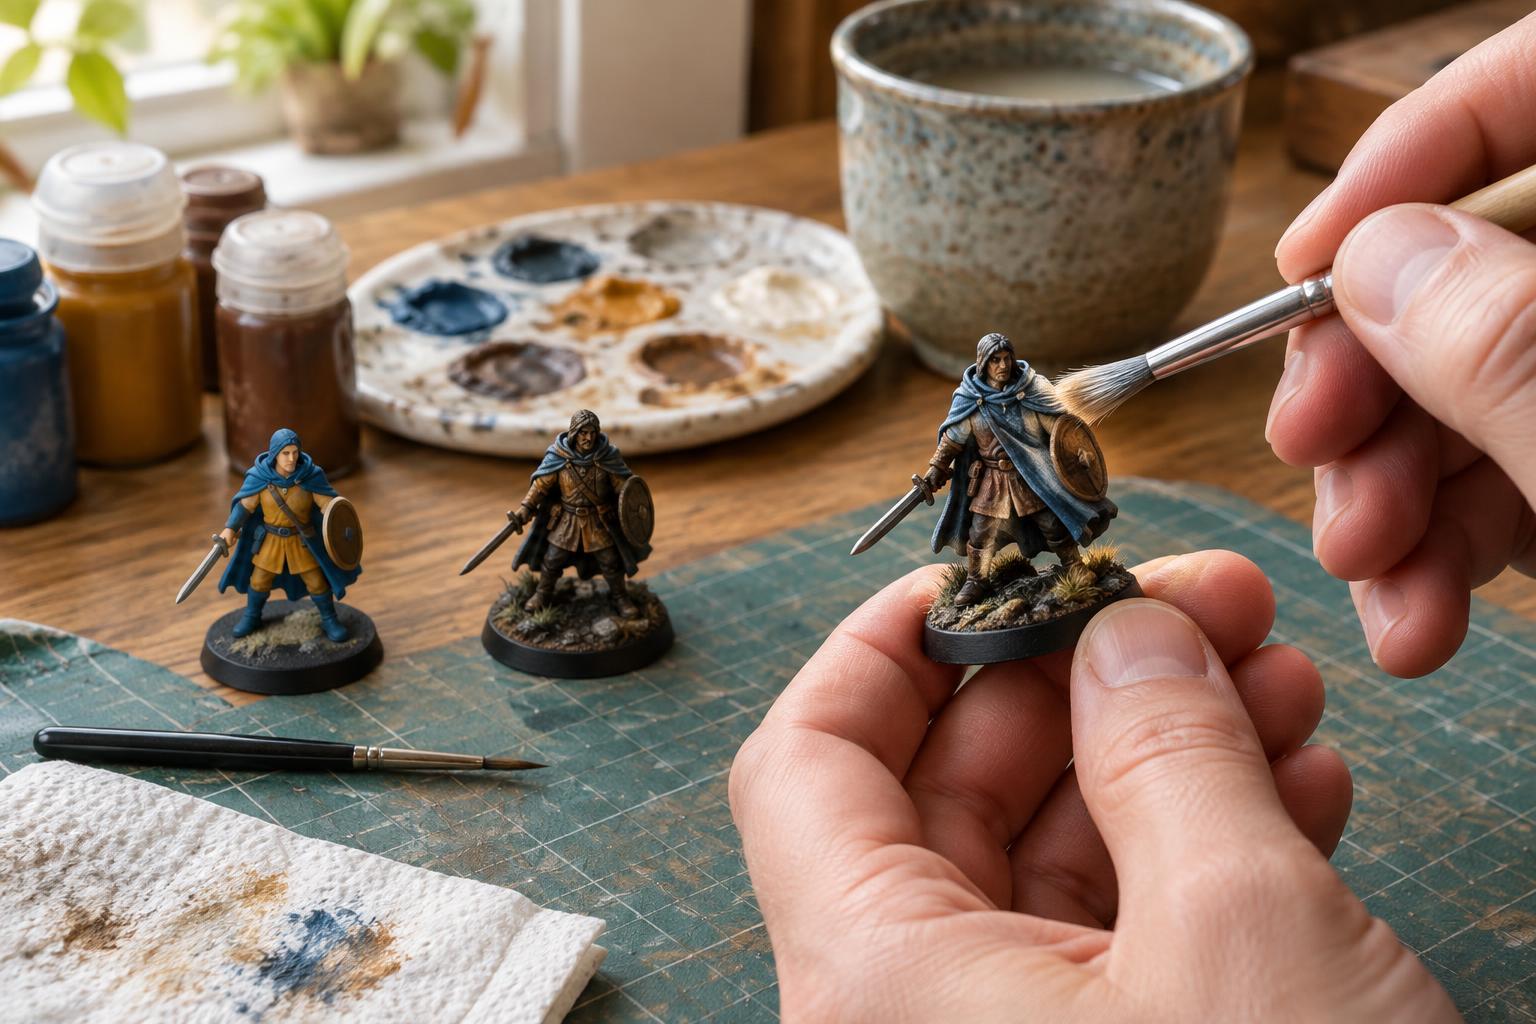
For a first exercise, choose a miniature with a few distinct materials and an uncomplicated base. Basecoat the main areas, let them dry, wash the details you want to deepen, and then drybrush the textures you want to bring forward. Afterward, tidy any misplaced color and paint a simple rim around the base if you like.
Keep one finished figure as a reference for your next attempt. Notice whether the basecoats look even, whether the wash settled where you intended, and whether the drybrushing picked out details without covering the shadows. Changing just one thing on the next miniature makes it easier to see what helped. These three techniques are not a rigid formula; they are dependable tools you can adjust to the model and the look you enjoy.