What primer does before the color goes on
Primer creates a base for the layers of paint that follow. It can make coverage more even and help paint adhere to materials such as plastic, resin and metal. It also gives you a chance to spot mold lines, stray glue and rough patches before they disappear under several colors. Primer is not a substitute for cleaning or careful assembly, though: a coat of primer can make a flaw easier to see without fixing it.
The best method depends less on a universal rule than on your workspace and project. Brush-on primer offers control over where the product goes. Spray primer can cover a batch quickly with a thin, consistent coat when conditions and technique cooperate. Both can produce a useful painting surface, and neither needs to hide every bit of the original material in one pass.
When brush-on primer is the practical choice
Brush-on primer suits a single figure, a small repair or a session where spraying is impractical. It lets you work indoors without spray overspray, although you should still follow the product label and keep your work area appropriately ventilated. A brush is also handy when a spray coat misses a deep recess or when you have added a new part to a model that was already primed.
Use a clean brush and apply a modest amount, spreading it across the surface rather than trying to make one thick coat look perfectly opaque. Check joints, folds and facial details for puddles before the primer begins to set. If coverage looks patchy, let the first coat dry as directed by the manufacturer, then add another thin coat where needed. Working repeatedly over primer as it starts to dry can pull it into streaks or texture.
Brush marks are more noticeable on broad, smooth armor panels than on textured surfaces. If they persist, try a thinner application and a soft brush suited to the model’s size. Follow the product’s thinning guidance rather than assuming every primer can be diluted the same way.
When spray primer earns its place
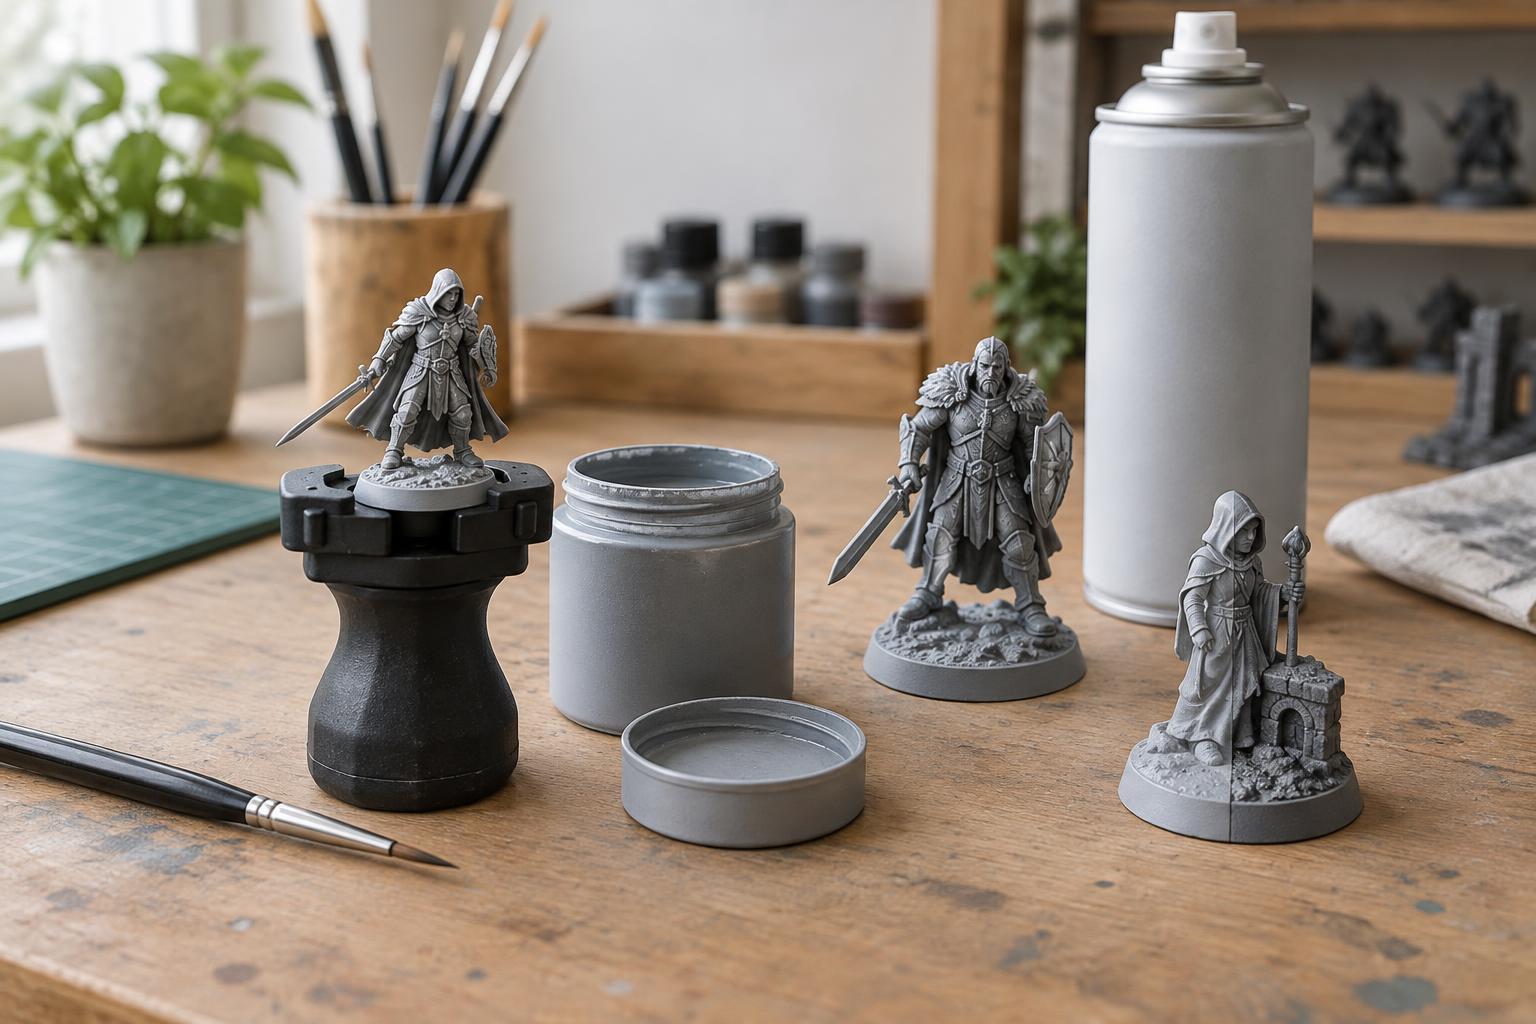
Spray primer is useful for several miniatures at once or for large models with many surfaces to cover. Its main advantages are speed and the ability to lay down light coats without touching fine details with a brush. The trade-off is less precise placement: paint can miss sheltered areas while accumulating on exposed edges. Spraying also requires a suitable space, protection for nearby surfaces and attention to the safety directions on the can.
Prepare a test piece if the primer or material is new to you. Shake and use the can according to its instructions, keep it moving while spraying, and build coverage with light passes rather than holding the nozzle on one spot. Position the miniature so you can reach different angles without flooding any one face. A holder can help you rotate the model while keeping your fingers away from the wet coat.
Spray results can change with conditions such as temperature, humidity and distance from the model. If the coat lands rough or dusty, stop and check the product guidance and your setup before continuing. Adding more primer over a grainy surface is unlikely to restore crisp detail.
Preparation and drying matter with either method
Before priming, remove obvious mold lines, tidy glue joins and clear away dust. Some models may also have residue from handling or manufacturing; if washing is appropriate for the material and assembly, let every part dry fully afterward. Check that glue has cured and that the miniature is secured to a base or temporary holder. These steps make it easier to apply a thin coat and inspect the result.
Choose a primer color that helps you see the model while you paint. A dark base can leave shadows in hard-to-reach recesses, while a light base can make bright colors easier to judge. Neither choice eliminates the need to paint those areas deliberately. Whatever color and method you use, allow the primer to dry for the time specified on its label before handling or painting over it. A surface that feels dry to the touch may not yet be ready for the next step.
Troubleshoot the coat before adding paint
Pooling around details usually means too much primer reached one area. While it is still wet, gently draw excess away with a clean brush if the product allows it; once dry, assess whether the detail needs careful cleanup. Missed spots are simpler: cover them with a small amount of brush-on primer or another light spray pass after the first coat has dried. Aim for an even working surface, not a perfectly solid color at any cost.
A rough spray coat, visible brush ridges or primer that rubs off easily are reasons to pause. Check that the model was clean, the primer is suitable for its material, and the application and drying directions were followed. For a badly textured coat, test any removal method on an inconspicuous area and confirm it is safe for the miniature’s material before treating the whole model. When in doubt, practicing on a spare piece is less frustrating than experimenting on a favorite figure.