Starting with a surface that fights the paint
If paint beads up, rubs off easily or reveals unexpected bumps, inspect the miniature before changing your painting technique. Mold lines and bits of leftover sprue can become more noticeable once color goes on. Gently scrape raised lines with a hobby tool, remove dust with a soft brush and let a washed miniature dry fully before priming.
A heavy coat of primer can bury small details, while an uneven coat may leave surfaces awkward to paint. Apply primer in light passes and check the model between them. Follow the product’s directions, especially for ventilation and drying time. If primer has dried into a rough texture, let it cure, then gently smooth the affected area where possible. Severe buildup may call for stripping the model with a product suitable for its material, but test an inconspicuous spot first; plastic, resin and metal do not always tolerate the same products.
Using paint that is too thick or too thin
Thick paint is a common reason faces, armor seams and fabric folds lose definition. Instead of trying to cover the primer in one pass, put a little paint on a palette and add water or an appropriate medium until it flows off the brush without forming a heavy ridge. The right amount varies by paint and task. Two thin coats often leave a cleaner result than one thick coat, provided each coat has time to dry.
Paint can also be thinned past the point where it behaves predictably. If it pools at the edges or retreats from raised areas, use less water, unload the brush on a palette or apply it in smaller amounts. When a wet layer looks patchy, resist scrubbing it back and forth: that can lift paint underneath. Let it dry, then add another controlled coat. For dried lumps, lightly smooth the spot before repainting rather than piling on more color.
Letting the brush do too much at once
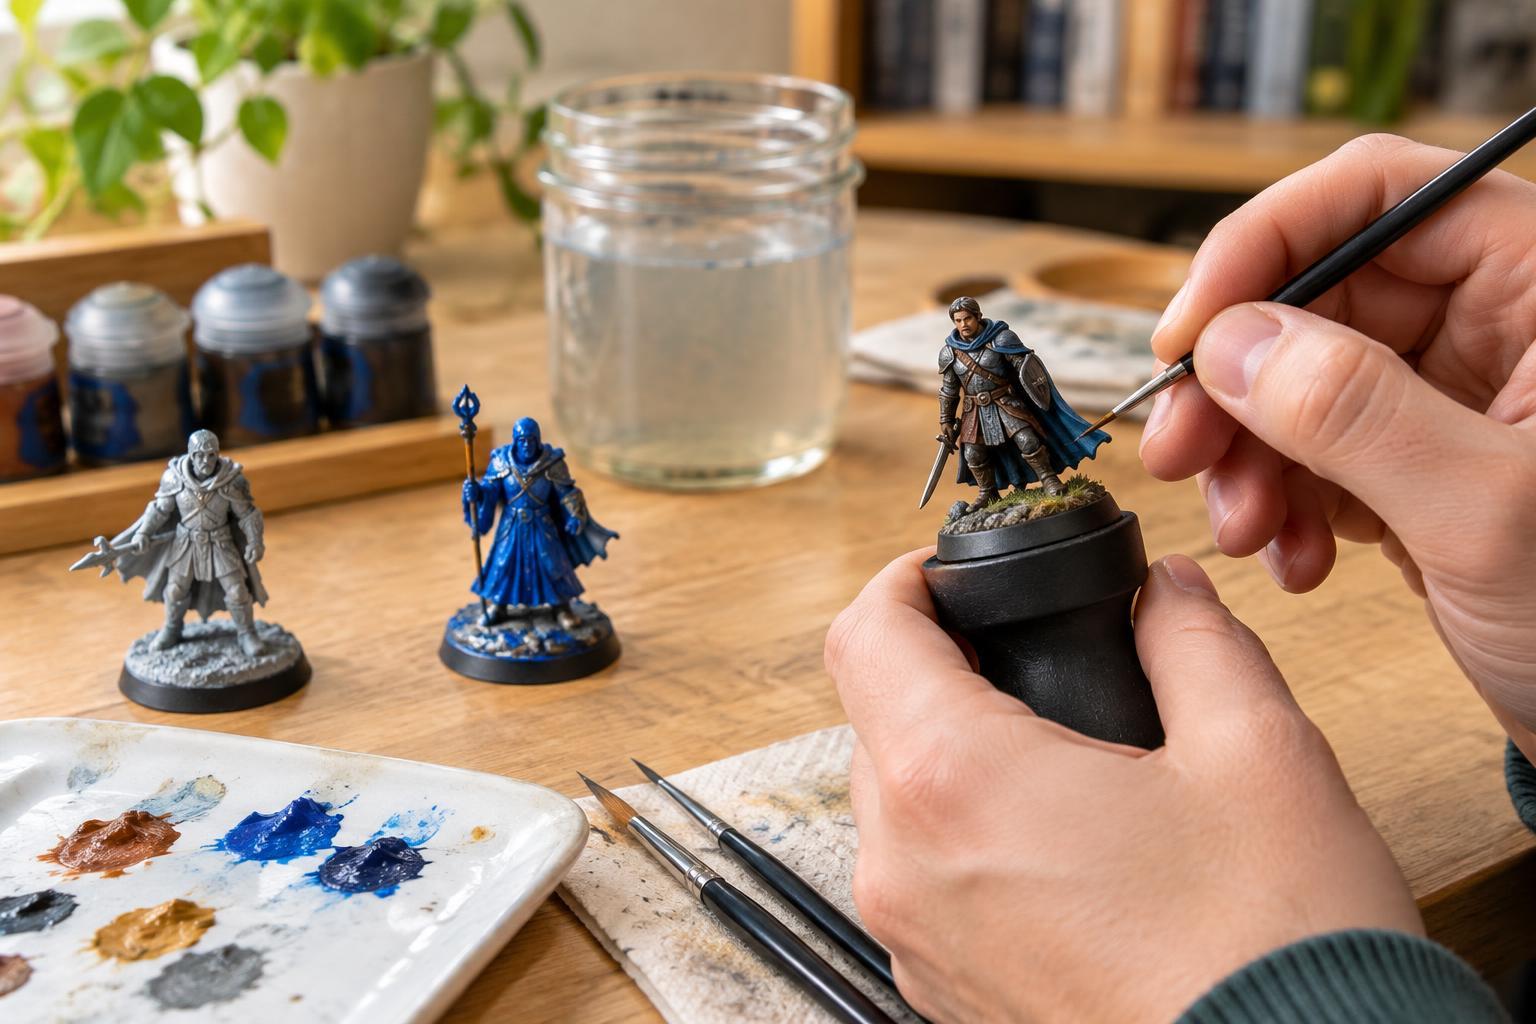
A brush loaded all the way to the metal ferrule is difficult to control and harder to clean. Dip only part of the bristles into paint, shape the tip on the palette and wipe away excess before approaching a tiny detail. For eyes, straps and trim, steady both hands against the table and rotate the miniature so the brush can make a comfortable stroke. A brush with a reliable point is usually more helpful than an extremely tiny brush that holds almost no paint.
Mistakes across color boundaries are normal, particularly when painting a crowded model. If the slip is still wet, a clean, slightly damp brush may lift it without spreading it. Once dry, cover it with the neighboring base color and rebuild any shading or highlight you removed. Painting broad or recessed areas first and small raised details later can reduce this kind of cleanup. Keep a separate brush for rough work so a good detail brush retains its point.
Making shadows and highlights too harsh
Dark washes can define sculpted details, but flooding an entire miniature may leave stains on broad surfaces. Try guiding the wash into recesses and drawing away excess from flat areas with a clean brush. If a dry wash has left a visible tide mark, repaint the middle of the affected panel with its base color while preserving some darkness near the edge. For the next attempt, work on one area at a time so you can spot pooling before it dries.
Highlights can look like bright stripes when the color jump is large or the brush catches too much of an edge. Mix an intermediate color between the base and highlight, or apply the bright color only to the most exposed points. Dry brushing works well on some textures, but too much paint on the brush can leave a chalky coating. Wipe most of it away and test a few strokes on a spare surface before touching the miniature. If an effect looks too strong, a thin layer of the base color can help bring it back together.
Rushing the finish or trying to repair everything
Handling a miniature before the paint has dried can leave fingerprints, and varnish applied too heavily may soften the appearance of fine details. Give layers enough time to dry, hold the model by a painting handle or its base when possible, and apply any protective coat according to its instructions. If a finish looks uneven, wait until it has fully dried before deciding whether a careful second coat is needed.
Not every imperfection needs a complete repaint. Set the miniature at the distance from which it will usually be seen on the table. A small mark that disappears at that distance may not be worth disturbing a finished area. Choose one issue to practice on the next model—smoother base coats, cleaner edges or more controlled washes. Keeping a spare miniature or piece of terrain for tests makes experimentation less intimidating and turns mistakes into useful information.