Plan a small set that can make several layouts
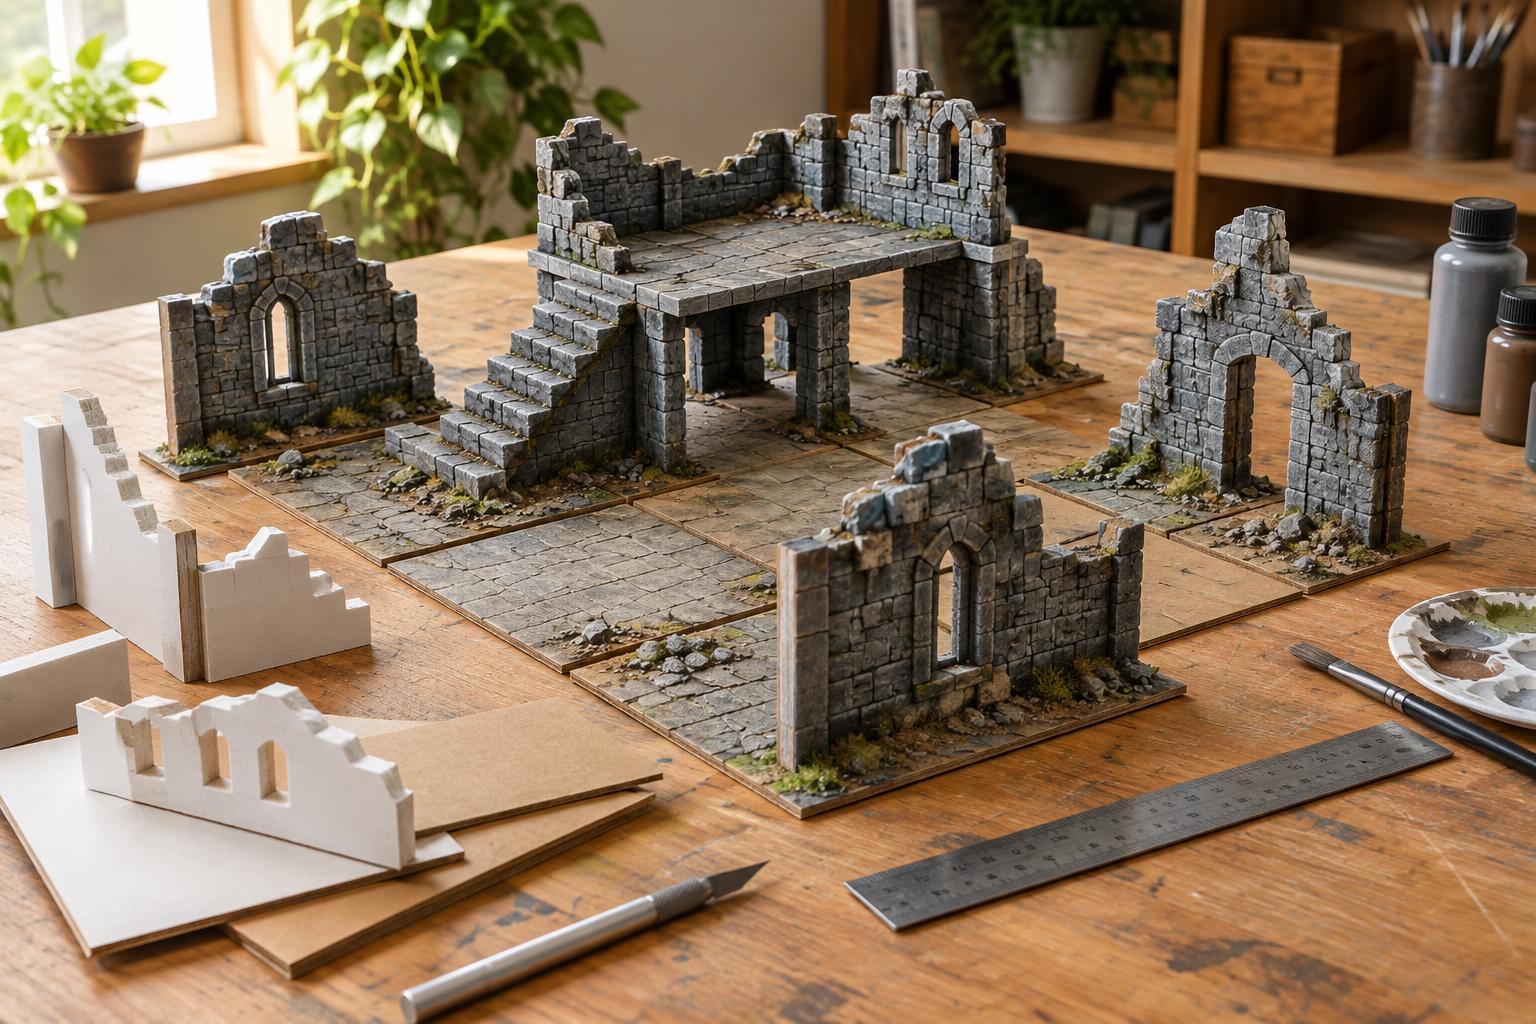
Modular terrain is a collection of separate pieces you can rearrange instead of one fixed landscape. A few straight walls, two corners, a doorway and a raised platform can become a courtyard in one game and a ruined building in the next. Before cutting anything, decide how much table space the set should cover and whether figures need to stand inside structures or on top of them.
Sketch the pieces on paper and choose a consistent wall height and base style. Consistency matters more than exact measurements: pieces that share a height and sit on similarly sized bases look related even when their details differ. Start with a modest set you can finish in one or two crafting sessions. After playing with it, you will have a better idea of which shapes would be useful to add.
Gather materials and cut the basic shapes
Foam board works well for walls because it is light, flat and easy to measure. Corrugated cardboard makes economical bases and sturdy structural layers; thin packaging card is useful for trim, floor tiles and surface details. You will also need a ruler, pencil, cutting mat, craft knife, glue and a few weights such as books. For painting, use water-based craft paint and a brush you do not mind using on rough textures.
Cutting is easier and cleaner with several light passes along a ruler than with one forceful stroke. Work on a cutting mat, keep fingers clear of the blade and replace dull blades rather than pressing harder. If children are joining the project, an adult should handle knife work. Cut a test wall and base first, then check them with the figures and game pieces you expect to use. If a wall blocks access to a room or a base takes up too much playing space, adjust the pattern before making duplicates.
Cardboard can curl when wet glue or paint soaks into one side. For a sturdier base, glue two cardboard layers together with their corrugations running in different directions, press them flat under a weight and let them dry fully. Keep the footprint of each base only as large as needed for stability and decoration.
Assemble pieces that stand up to play
Begin with simple forms. A wall can be one foam board rectangle glued to a cardboard base. A corner uses two wall panels joined at a right angle. For a raised platform, stack cardboard supports beneath a foam board top, leaving enough open space to reach underneath if the game calls for it. Test every piece on a level table before adding detail; if it tips when touched lightly, widen its base or reinforce its supports.
For ruins, cut openings and uneven wall tops before gluing the panels in place. Keep doorways and gaps wide enough for the pieces that will pass through them. Small triangles of card glued across inside corners can act as braces without becoming prominent features. Avoid making every section permanently connect to its neighbors. Separate walls and platforms are easier to rearrange, repair and store.
Choose glue with the material in mind. Ordinary craft glue is useful for cardboard layers but needs time to dry; a foam-safe adhesive can help with foam board joins. Test an unfamiliar glue on an offcut, since some adhesives may damage exposed foam. Hold joints in place with painter’s tape while they set, and wait until they are firm before painting.
Add texture and paint without hiding the useful details
Texture can be as simple as strips of thin card for beams, small torn pieces for broken stone, or lightly scored lines for floor tiles. Put the strongest details where players will see them, but leave spaces where figures need to stand. Loose grit or bulky decoration on a narrow platform may make it less useful during a game.
Before painting, seal any exposed foam edges with a suitable water-based coating or craft glue and let it dry. Apply paint in thin coats so cardboard is less likely to warp. A dark base color, followed by lighter paint brushed over raised areas, can make plain surfaces easier to read from across the table. Test paint and glue combinations on scraps first, and follow the product’s handling directions. Avoid heat or flames for shaping foam; careful cutting and layered card provide plenty of options without them.
Make storage part of the design
Once the paint is dry, arrange the pieces into several layouts. This is a useful final test: check whether players can reach figures, see important spaces and move pieces without knocking over nearby walls. If one element repeatedly gets in the way, trim its base or make it a separate removable detail.
Store terrain in a box or shallow tray, with lightweight pieces placed above heavier platforms. Card dividers or a little packing paper can stop painted surfaces from rubbing together. Keep one wall template and a note of your chosen dimensions in the box. When you want to expand the set, those references will help new pieces fit the old ones while leaving room for different themes and experiments.