Start with a place, not a pile of materials
A scenic base works best when it suggests one clear setting: a dusty path, a patch of broken ground or a grassy edge. Choose that idea before opening the glue. A small base has limited room, so one focal feature often reads better than several competing details. A single stone beside the miniature’s feet, for example, can suggest rocky terrain without hiding the figure.
Check whether the miniature is already attached and whether its game uses a particular base size or shape. Keep the outline and any important contact points clear so the finished piece remains easy to use. If the figure is separate, place it on the bare base temporarily to see where its feet will go. Leave those spots fairly level; tall stones and thick texture can make attachment awkward later.
Gather a small, manageable kit
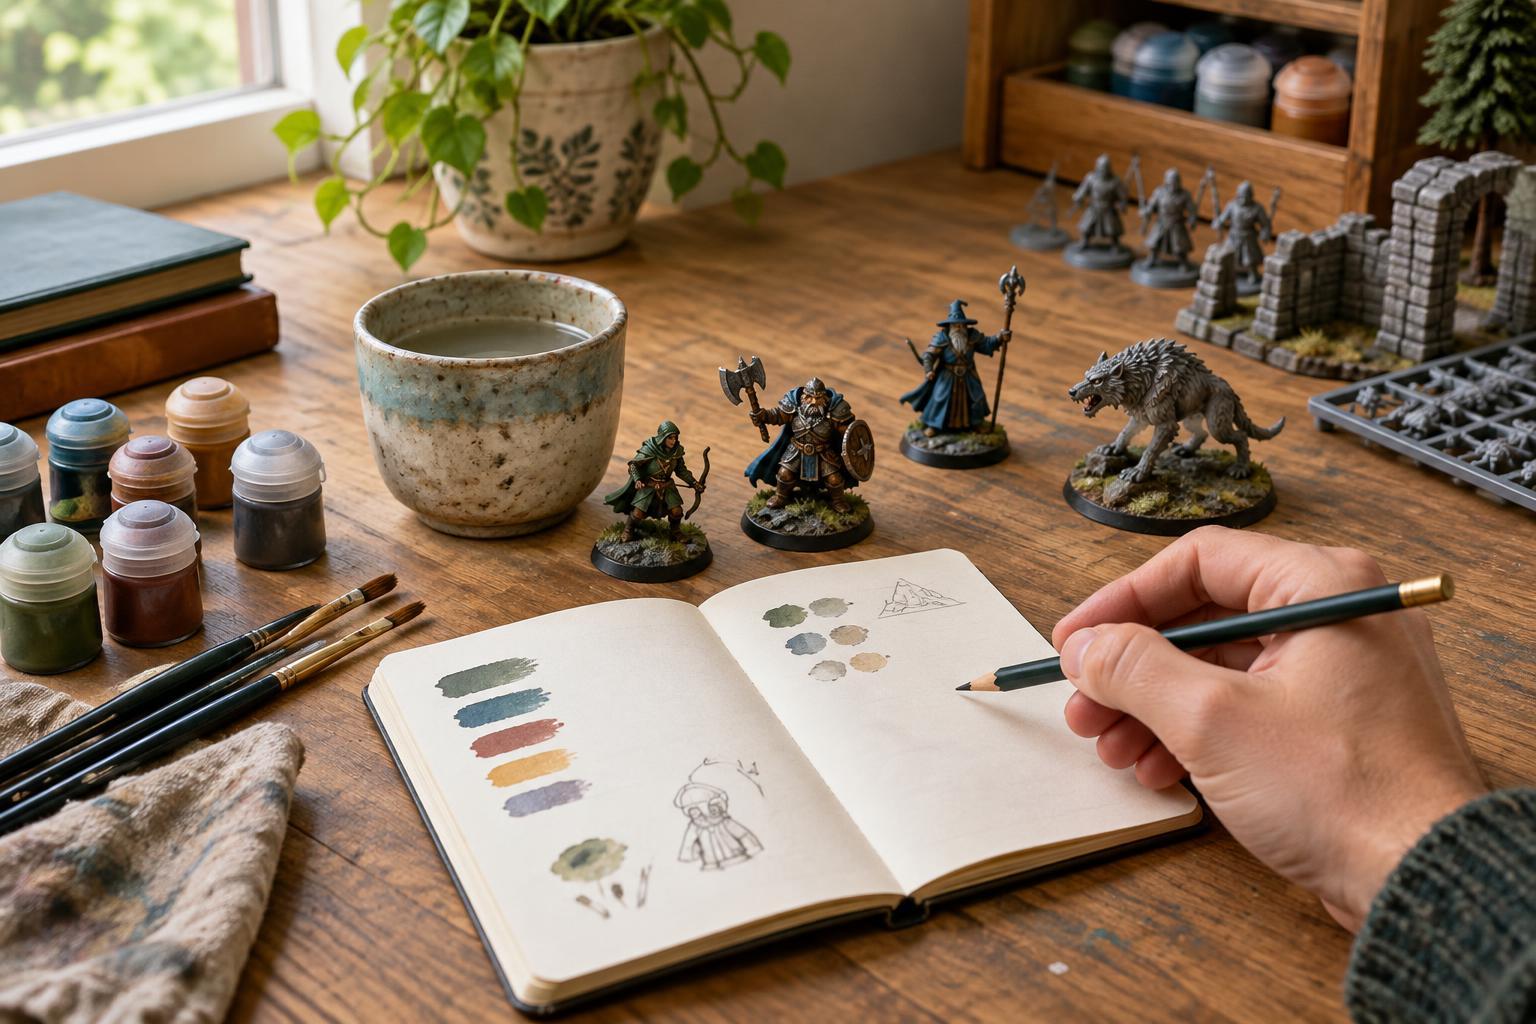
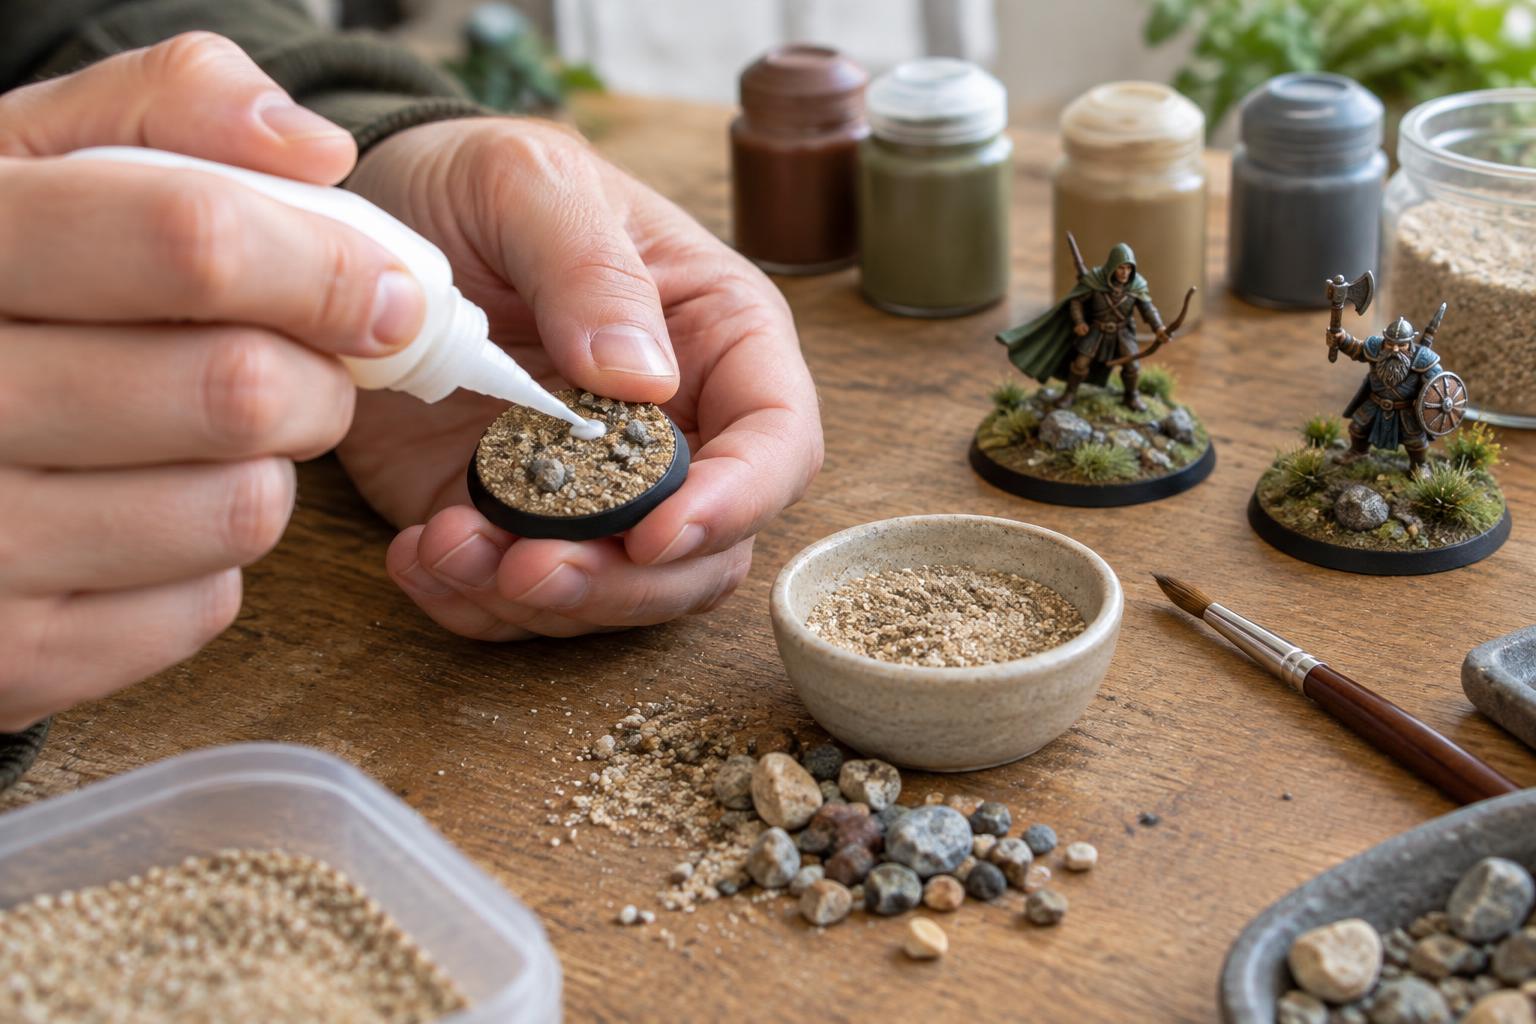
For an easy earth-and-stone base, gather the base, white craft glue, a little clean sand or fine gravel, a few small stones, an old brush, paints and a suitable primer. A scrap of cardboard makes a handy work surface. Optional tufts or short lengths of hobby grass can add vegetation after painting. You do not need every material at once: sand, one stone and two or three paint colors are enough for a convincing first attempt.
Choose texture with the miniature’s scale in mind. A large pebble can look like a boulder next to a small figure, while finer grains tend to read as soil. Remove loose dirt from natural materials and let them dry before use. Keep food and hobby materials separate, avoid breathing in fine dust, and follow the directions on glues, primers and paints. If you trim anything with a hobby knife, work on a cutting surface and cut away from your fingers.
Build texture in thin layers
Spread a thin coat of craft glue over the area you want textured, avoiding the places where the miniature’s feet will attach. Set down the largest stone first, then sprinkle sand over the remaining glue. Gently tap off the excess onto your work surface so it can be collected for another project. Leave some bare space around the edge of the base; a tidy rim helps the terrain look intentional.
Let the first layer dry before deciding whether it needs more. You can add a second small patch of glue and sand to break up an area that looks too flat, but try not to bury every feature. For extra hold, brush a little diluted craft glue over loose grains and allow it to dry fully. The surface may look messy at this stage. Paint will bring its shapes together, provided the texture is secure enough that it does not shed when brushed.
Use paint to make the terrain readable
Once the glue is dry, prime the textured base with a product suited to its materials. Apply it in light coats so the sand and stone keep their definition. Paint the ground a dark brown or gray, working color into the low spots. When that coat is dry, lightly drag a brush with less paint across the raised grains. A lighter version of the same color catches the texture and makes it easier to see from across a table.
For a simple rocky base, try dark gray followed by a lighter gray on the highest edges. For dry ground, start with brown and bring up the texture with a muted tan. These are starting points rather than strict recipes. If the contrast looks too sharp, add a thin mid-tone coat to soften it. Paint the outer rim in a solid color at the end; keeping paint off the sides while texturing makes that final step easier.
Add details, then check the result in play
Attach the miniature after the painted ground is dry, using an adhesive appropriate to the figure and base. If it is already attached, work carefully around its feet and touch up any visible joins. Add a tuft of grass or a tiny patch of foliage only where it helps the setting. Details should support the figure, not crowd it. Avoid placing fragile pieces where fingers will naturally grip the base during a game.
Before calling the base finished, set it beside a few other miniatures and view it from normal table distance. Is the figure still the focus? Does the ground look stable, and can the base sit flat? If so, it has done its job. To make several bases feel like part of the same scene, repeat a limited palette and one or two materials while changing where the stones or grass sit. That gives each miniature some character without turning the project into a complicated build.