Plan the figure before you cut
Paper miniatures let you put a large cast on the table without needing a shelf of painted figures. A character can be a hand-drawn portrait, a printed illustration or a simple silhouette with a name. The trick to making one that lasts is to treat it as a small standing object, not just a picture cut from paper. Its artwork, backing and base all need to work together.
Start by checking the spaces on the map where the miniature will be used. Make a test figure from scrap paper and place it on a typical space. It should be easy to identify without covering so much of the board that nearby details disappear. For a group of figures, choose one consistent height for ordinary characters and adjust only when a different size helps play. Leave a little blank space below each image for a stand or folded base.
If you print artwork, check it at the intended size before making a full sheet. Fine details that look clear on a screen can blur when reduced. Strong outlines, distinct colors and recognizable shapes are often more useful at the table than intricate decoration. If you use someone else’s artwork, make sure you have permission for your intended use, especially before sharing your miniature sheets.
Choose materials that resist bending
For the figure itself, sturdy cardstock is a straightforward starting point. Ordinary printer paper can work when glued to a backing, but on its own it tends to curl and crease during handling. You will also need scissors or a craft knife, a ruler, adhesive and material for the bases. A cutting mat protects the table if you use a knife; cut away from your fingers and keep the blade capped when you stop.
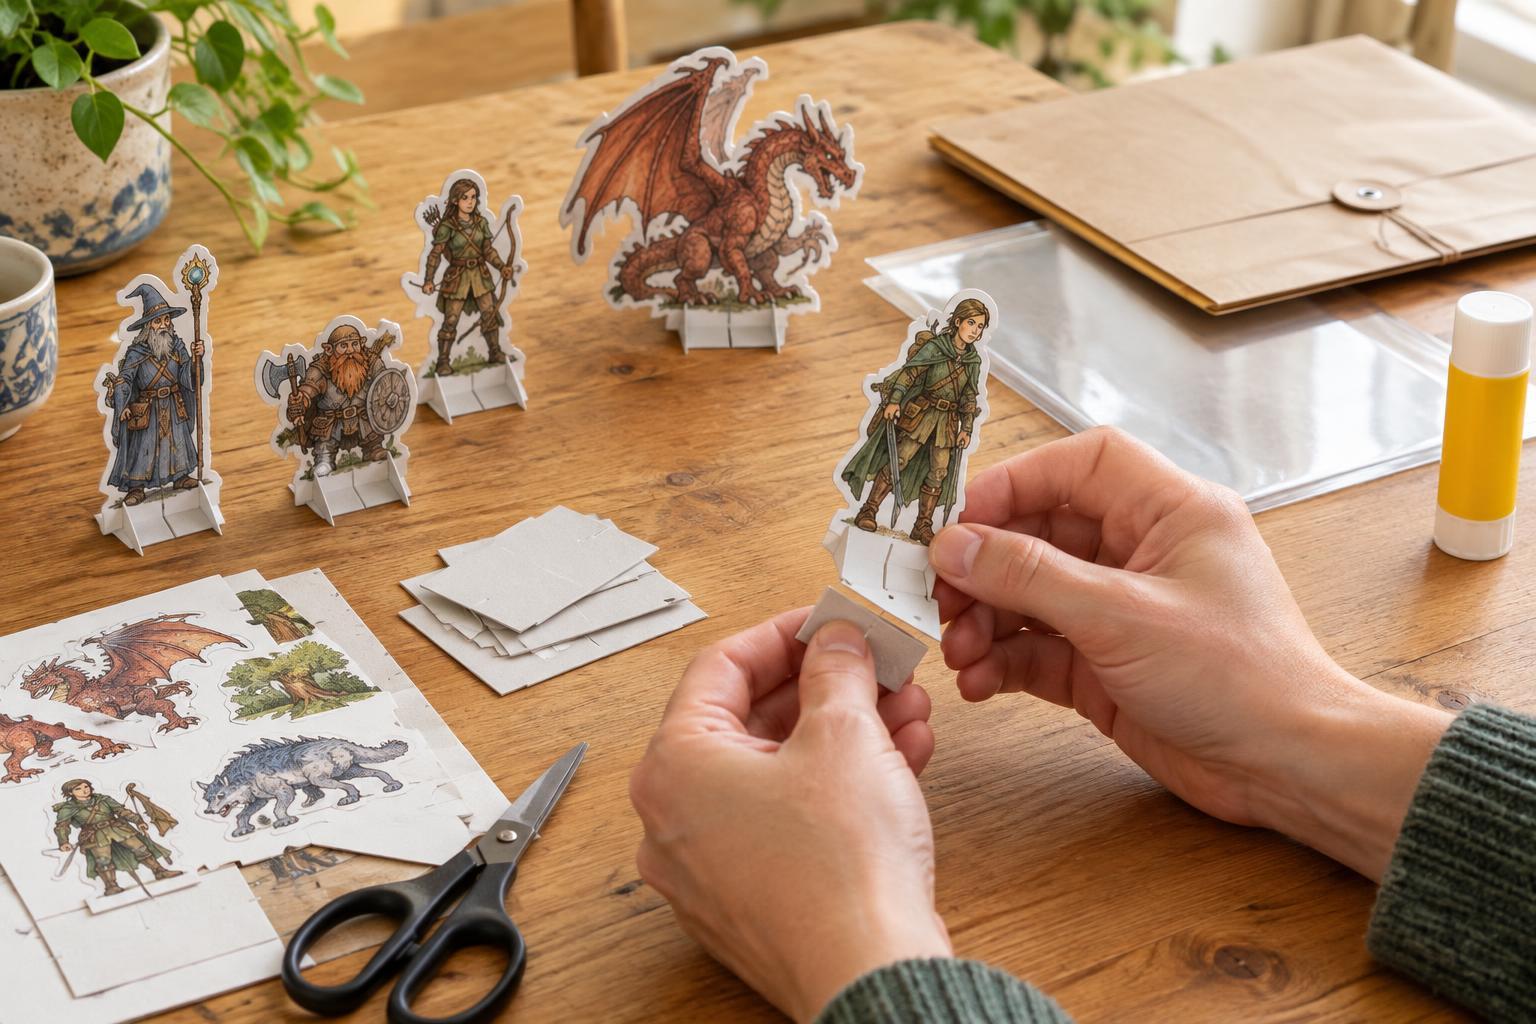
A doubled figure is usually sturdier than a single layer. Print or draw a front and back, then glue them around a piece of cardstock, aligning the top edges carefully. If you only have one image, a plain colored back works well. Apply a thin, even layer of glue so the paper does not become soggy, press the layers under a clean book while they dry, and trim the outline afterward. Waiting until the glue is dry makes cleaner cuts and helps prevent the layers from shifting.
Keep projections such as swords, horns and thin arms close to the body of the cutout when possible. A little unprinted border around a fragile detail gives it more support. Rounded corners are less likely to catch on sleeves or neighboring figures than sharp, narrow points.
Build a base that suits your table
The simplest stand is a folded strip of cardstock. Leave a tab below the figure, fold it forward, and attach a second small piece across the bottom to form a wide foot. Test the figure with a gentle tap. If it falls easily, widen the foot or add another layer of cardstock underneath. A base should be broad enough to stand reliably but compact enough to fit its intended map space.
For figures you expect to reuse often, try removable slot bases. Cut a short slit in a thick cardstock disk or another stable base and slide the figure’s bottom tab into it. Make the slit snug rather than forcing the paper through; a tight fit can tear the tab. Removable bases let you pack figures flat and replace a damaged character without rebuilding the stand.
Whatever style you choose, mark the front clearly. A tiny arrow or colored strip on the base helps everyone see which way a figure faces. You can also put a name or number on the back for quick identification during crowded scenes.
Protect the surface without losing flexibility
Frequent handling wears down exposed edges first. After the glue has dried, you can cover each side with clear adhesive film or place the figure in a self-adhesive laminating sheet, then trim around it while leaving a narrow sealed border. Covering the figure before attaching a permanent base makes this step easier. Check that your chosen stand still fits the thicker finished tab.
Protection is optional. An uncoated cardstock figure is easy to repair, label or recycle when its role is finished. If you prefer that approach, keep the artwork simple and make a spare for characters that will appear often. Avoid piling on several wet coatings at once, which may warp the paper. Test any finish on a scrap figure before applying it to a full set.
Store figures flat and repair them quickly
Sort finished miniatures by adventure, group or creature type and keep them in labeled envelopes or shallow boxes. Slip a piece of stiff card into each envelope so the figures do not bend in a bag. Store removable bases separately in a small container; permanent bases need enough room that they are not crushed beneath heavier supplies.
Small repairs can extend a figure’s life. Reinforce a soft tab with a fresh cardstock strip, secure a lifting edge with a tiny amount of glue, or replace a wobbly base while keeping the artwork. When a figure is beyond repair, use it as a guide for the next version: note where it bent or tipped, then strengthen that spot. A handful of well-made, easy-to-recognize miniatures can serve many adventures, with new characters added whenever the story calls for them.