Plan for the table, not just the close-up
Tabletop terrain has a different job from a display model. Players need to recognize walls, doorways, stairs and obstacles at a glance, often from several seats away. Before choosing colors, set a piece on the table where it will be used. Notice which surfaces face the players and which details help explain the space. A strong shape and a few readable accents usually matter more than tiny decorations.
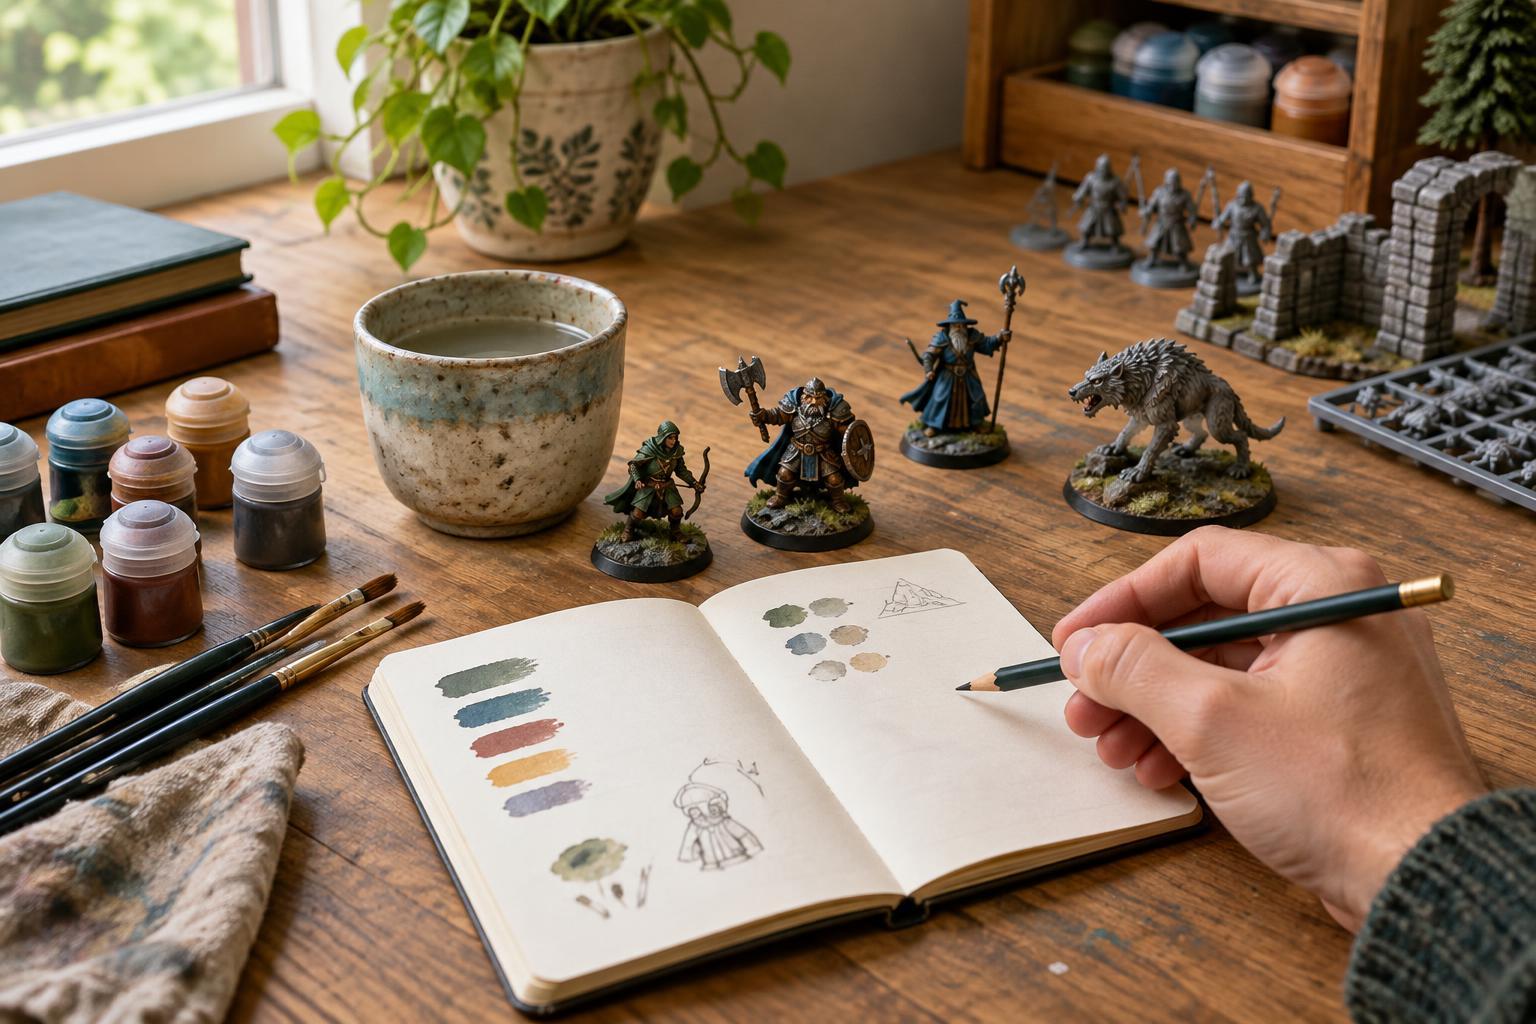
Choose a restrained palette: a main color for the material, a darker color for recesses and a lighter one for raised edges. Give useful features, such as doors or control panels, enough contrast to stand apart. If several pieces belong to one set, repeat a few colors across them. The terrain will feel connected even when each piece has a different shape.
Prepare each material before painting
Terrain can combine plastic, cardboard, wood, foam and 3D-printed parts, so preparation is not always identical. Remove dust and loose debris, then check that glued joints are secure. Smooth sharp bumps or obvious print marks where they would distract from the finished surface. On cardboard, avoid soaking the material; too much moisture can cause warping. Let glue and any surface coating dry fully before adding paint.
Primer helps paint grip and gives mixed materials a consistent starting color. Use a product suited to the material and follow its label instructions. Some aerosol products can damage exposed foam, so test an inconspicuous area or seal the foam first with a compatible brush-on coating. Thin coats are easier to control than one heavy coat, which can fill shallow textures. Work in a suitable, well-ventilated area and allow each coat to dry before handling the piece.
Build depth with simple, repeatable layers
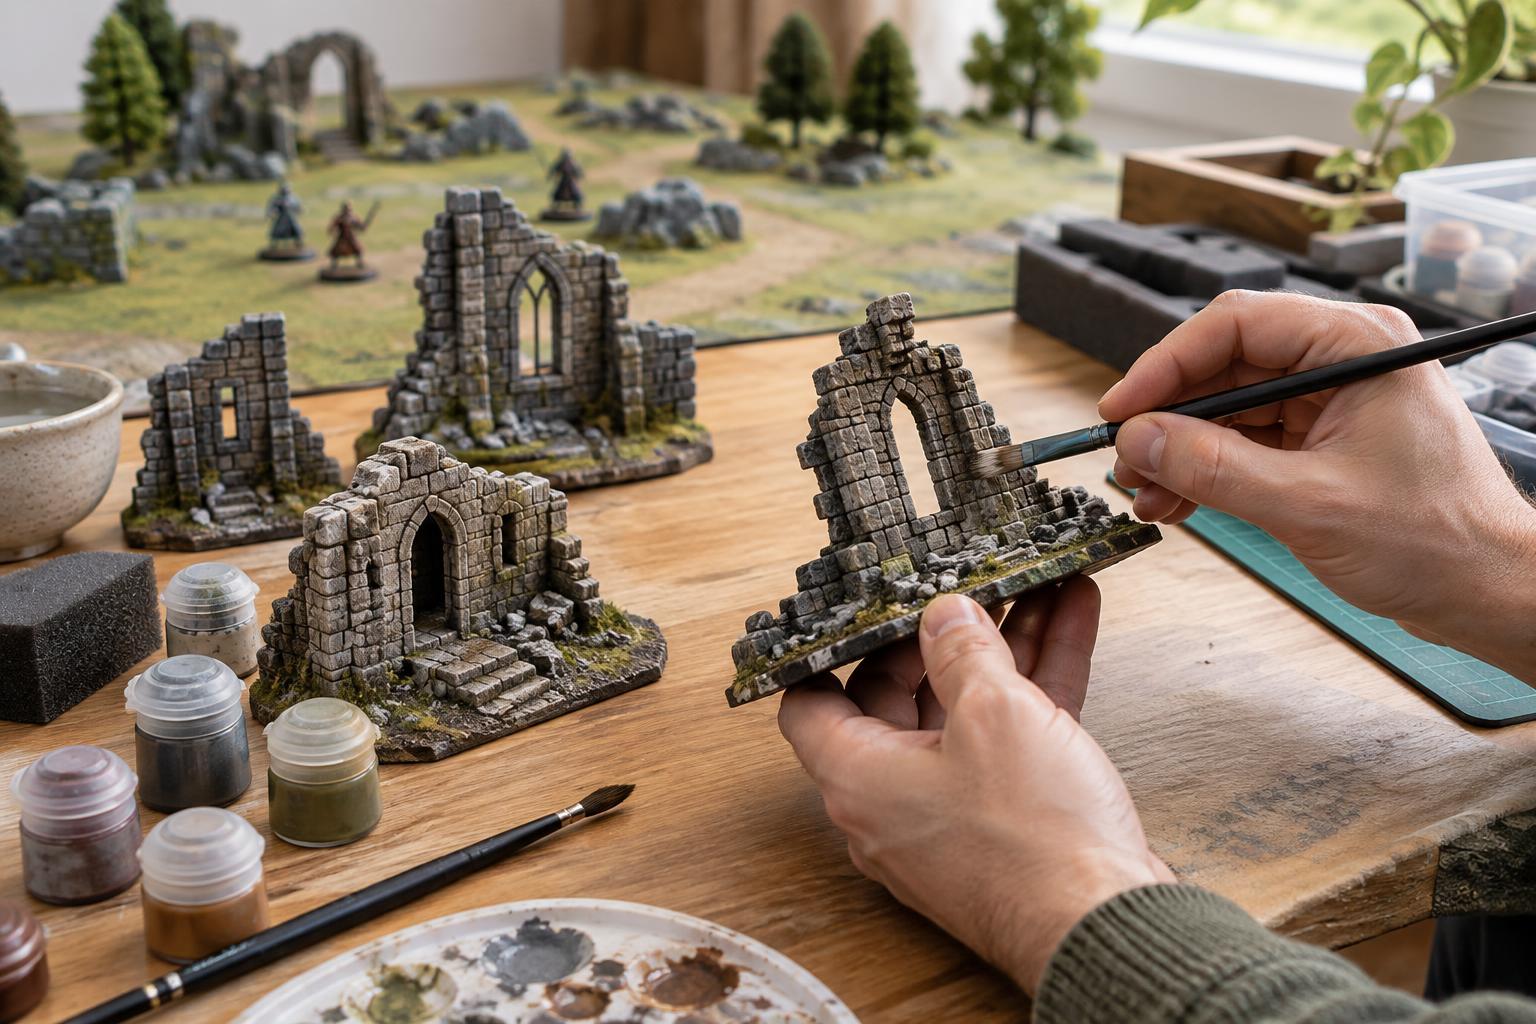
Start with an opaque base color on each major surface: stone, timber, metal, soil or plaster. You do not need to paint every individual brick a different shade. Once the base is dry, add a darker tone to crevices with a controlled wash or carefully placed paint. Let it settle in the texture without leaving large pools on flat areas. This step makes carved lines and joins easier to see.
Next, lightly brush a paler color over raised texture. A nearly dry brush catches edges and rough surfaces while leaving the dark recesses visible. Test on the back of the piece first: too much paint can make stone look chalky or bury fine detail. For smoother objects, paint a few deliberate edge highlights instead. Finish with selective accents on features players should notice, such as a hatch handle or a ladder. These small contrasts help the terrain communicate its shape without making every surface equally busy.
Make wear and color serve the setting
Weathering can add character, but it works best when it follows how an object might be used. Place dirt near the ground, scuffs on corners and footsteps along likely routes. On a metal structure, a little dark discoloration around joins can suggest age without covering the base color. On a stone wall, varied gray or brown patches can break up a large, uniform area. Keep important openings and edges clear so decorative effects do not hide gameplay features.
Paint a sample piece before committing to a full set. Place it under the lighting you normally use for games and look at it from across the table. If the details disappear, increase the difference between dark recesses and light edges. If the piece draws attention away from figures or game components, soften its brightest accents. Adjusting one sample is much easier than repainting an entire collection.
Protect the finish and make handling easy
Give painted terrain enough drying time before sealing it. A compatible clear varnish can help protect frequently handled surfaces, though it will not make fragile construction indestructible. Test the finish first, especially over unusual paints or materials, and apply light coats according to the product directions. A matte finish often keeps stone and earth looking natural; a touch of gloss can be reserved for water, glass or polished details.
Durability also depends on how a piece is used and stored. Reinforce a wobbly base, avoid lifting large structures by thin railings and keep small detachable parts in a container where they will not rub against heavier pieces. For transport, separate painted surfaces with soft packing material. Keep a little of each main paint color for quick touch-ups. With a clear palette, sturdy construction and modest protection, terrain can remain easy to read through many ordinary game nights.