Decide whether stripping is necessary
An old paint job does not always need to come off. If the existing layers are thin, firmly attached, and free of obscured detail, you may be able to clean the miniature and prime over them. Stripping is more useful when paint has filled fine textures, pooled around faces or equipment, or formed a rough surface that a new coat will not hide.
Before reaching for a cleaner, identify what the miniature is made from. Metal figures, hard plastic kits, and cast resin can react differently to the same product. A model may also combine materials: a metal figure could have a plastic base, or a resin piece could have glued-on details. If you cannot identify a part, treat it as delicate and test any cleaner on a small, inconspicuous area first.
Set up a safe, low-mess workspace
Choose a paint remover whose label says it is suitable for the miniature’s material and the type of paint you want to remove. Water-based acrylic hobby paint is often easier to lift than an unknown coating or a heavy primer. Follow the product’s directions for dilution, contact time, ventilation, and protective equipment rather than assuming a longer soak will work better.
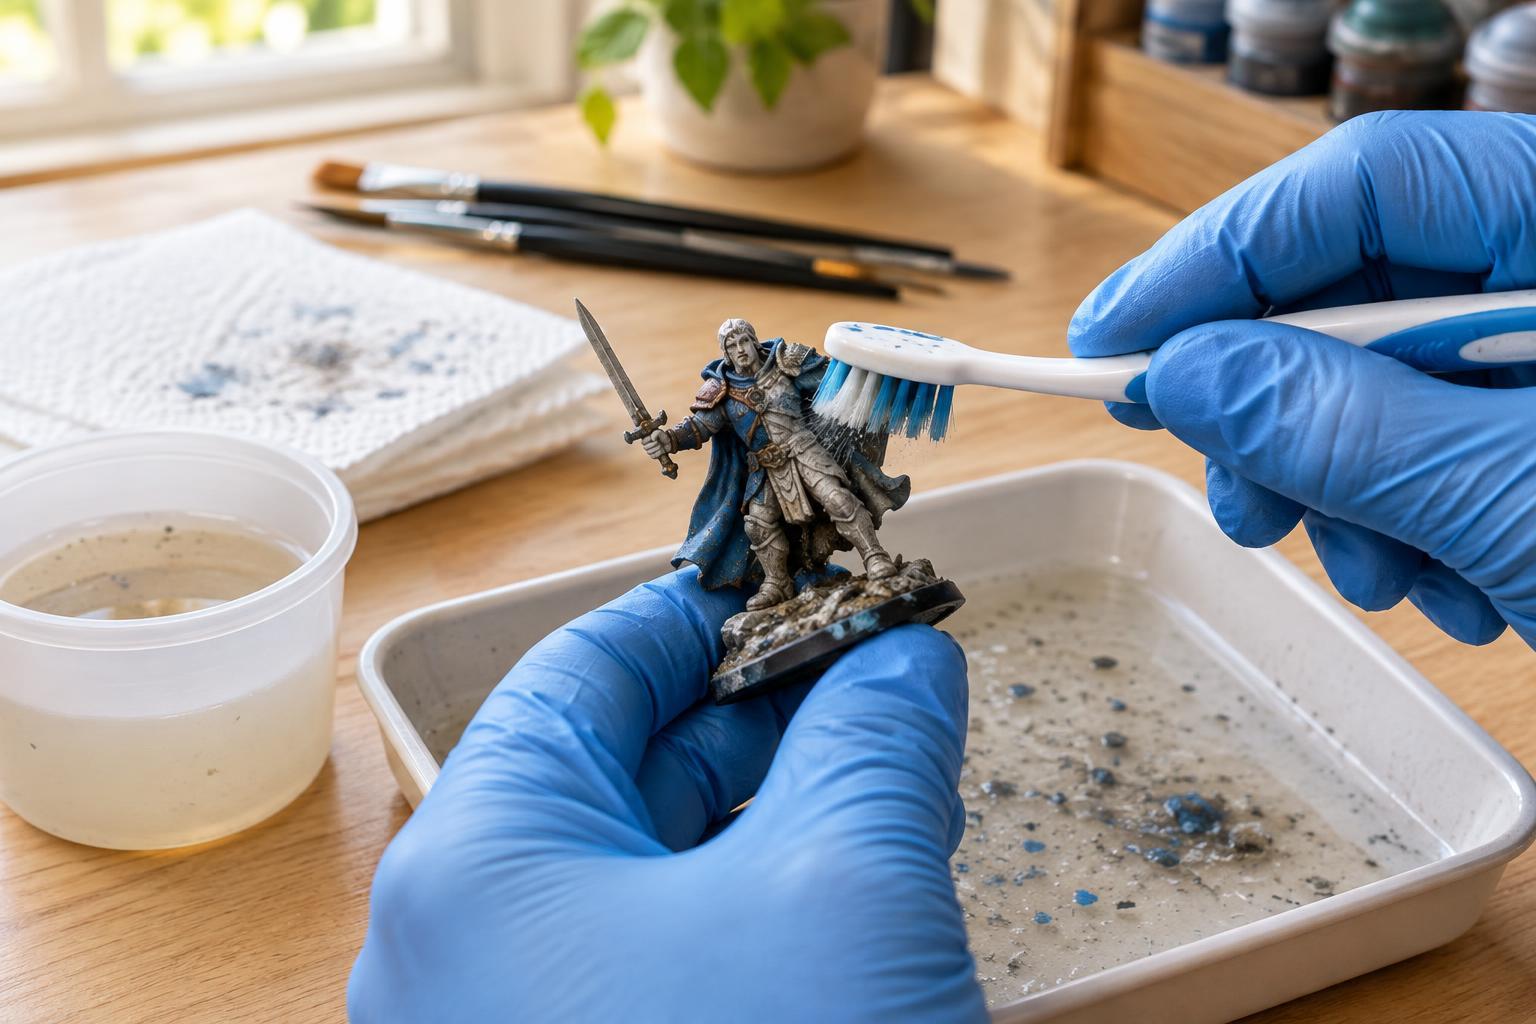
Set a shallow, sealable container on a protected work surface and gather a soft toothbrush, cotton swabs, paper towels, and a separate container for used cleaning liquid. Wear eye protection and gloves appropriate for the product. Keep cleaners away from food, children, and pets. Do not mix cleaning products, use an open flame nearby, or use a food container that might later return to the kitchen.
Soften the paint, then brush gently
If the cleaner permits soaking, place the miniature in the container and start with the shortest contact period recommended on its label. Check the figure rather than leaving it unattended for an extended soak. For a mixed-material model, a cleaner applied carefully to a small area may be preferable to immersing the entire piece. Stop if a part becomes tacky, soft, swollen, or discolored.
Once the paint begins to loosen, brush it with light strokes over the container. Work from broad surfaces toward recesses, using a cotton swab where a brush cannot reach. The goal is to lift softened paint, not scrape the underlying miniature. If paint remains firmly attached, repeat a label-approved cleaning cycle instead of pressing harder. Avoid metal tools around faces, texture, and other fine details.
Take extra care with plastic, resin, and glued parts
Do not treat a method that worked on metal as automatically safe for plastic or resin. Strong solvents, including acetone, can damage many plastic miniatures and may affect resin or adhesives. Even a cleaner commonly used for hobby paint might behave differently across kits and castings. A spot test and the cleaner’s material guidance matter more than a universal recipe.
Joints deserve attention too. Cleaning liquid may loosen some glues, and repeated brushing can dislodge small weapons, antennae, or scenic pieces. Support fragile parts while you work, and do not force a seam that starts to separate. If a base has sand, flock, or other decoration, expect that some of it may need to be replaced after cleaning.
Clean up and prepare for the next paint job
When you have removed as much paint as you reasonably can, follow the cleaner’s instructions for rinsing or wiping the model. If rinsing with water is appropriate, use a soft brush to clear residue from recesses. Let the miniature dry completely, including around joins and under the base. Inspect it in good light: a few thin, stubborn traces of paint may be harmless, but loose flakes or cleaner residue can interfere with a new coat.
Handle used liquid and paint debris according to the product label and local disposal rules; do not assume they belong down a drain. Once the miniature is dry, reattach any loosened parts, tidy up damaged basing, and apply a primer suitable for the material. The best result comes from a sound, clean surface—not necessarily from removing every last speck of the previous color.