What sealing does—and what it does not
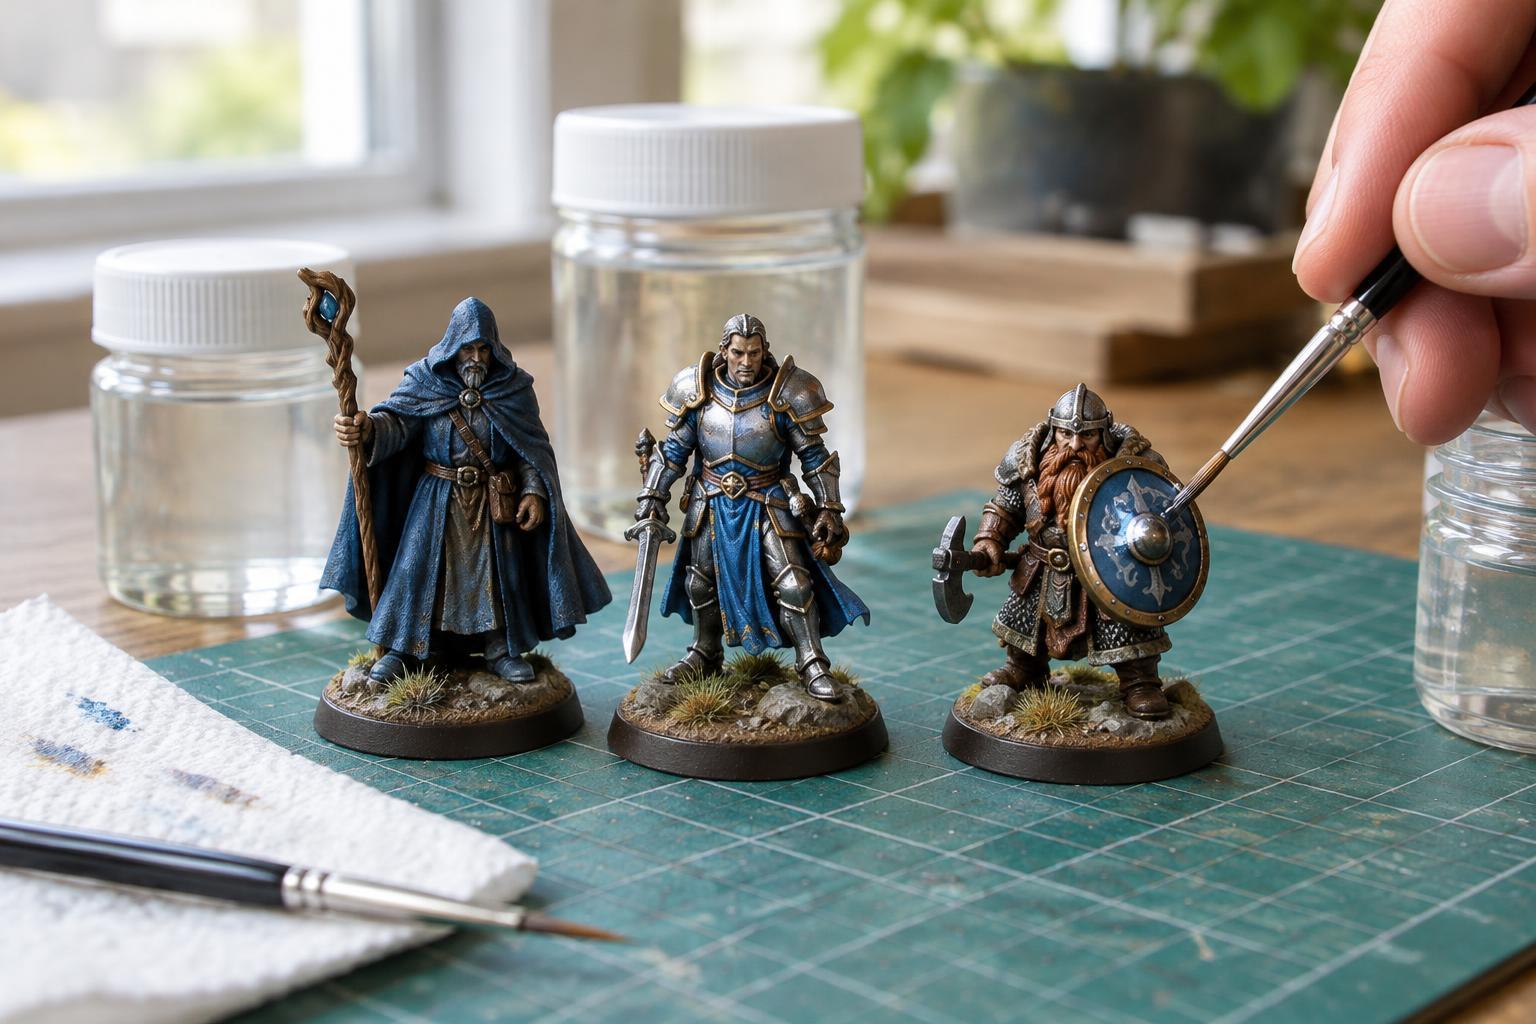
Sealing a painted miniature means adding a transparent protective coat over the finished paint. It can reduce wear from ordinary handling and make a model’s surface look more consistent. It will not make a miniature immune to scratches, chips, or rough storage, so careful handling still matters.
Before sealing, let the paint dry thoroughly. Paint that feels dry on the surface may still be soft underneath, particularly where it was applied thickly. Follow the drying guidance for the paints and varnish you use, and allow extra time if you are unsure. Remove loose dust with a clean, soft brush: particles caught under a clear coat can be surprisingly visible. If you have not used a varnish with that paint before, try the combination on a spare piece or the underside of a base.
Choose the finish to suit the model
Matte varnish reduces reflections, which can make fabric, skin, stone, and weathered surfaces look natural. It is a popular choice when you want viewers to notice the paintwork rather than shine from a lamp. A very flat finish can, however, soften the appearance of metallic paint or deep, glossy colors.
Satin sits between matte and gloss. Its gentle sheen suits models with mixed materials and is a useful choice when you want one finish across the whole miniature. Gloss reflects the most light. It works well for wet surfaces, polished armor, glass-like lenses, and other deliberately shiny details, but an all-over gloss coat may make cloth or dirt look wet too.
You do not have to commit every surface to the same sheen. One approachable method is to seal the whole model in your preferred overall finish, let it dry, then brush gloss varnish onto selected details. For example, a matte creature can have glossy eyes and a satin shell. Test small areas first: some varnishes alter how colors or metallic effects appear.
Brush-on and spray varnish
Brush-on varnish offers control, especially when you are finishing a few figures or treating small details. Use a clean, soft brush and apply a thin, even layer. Work gently rather than repeatedly brushing a patch as it begins to dry. Check recesses, edges, and the space between legs for pooled varnish; excess can dry as a visible ridge or cover texture. Use only the thinning method recommended for your product, since adding too much water or an unsuitable thinner can affect the finish.
A spray can or airbrush can cover a group of miniatures efficiently, but setup matters. Follow the product’s directions for shaking, distance, ventilation, and application conditions. Test the spray before aiming at a finished model, and use light passes rather than trying to achieve full coverage in one heavy coat. Protect your work area and avoid spraying toward people, pets, or items you do not want coated. If you cannot meet the product’s ventilation and handling instructions, a suitable brush-on varnish may be the easier choice.
Build protection with thin coats
Set the miniature where you can reach it without touching the painted surfaces. A holder, temporary base, or securely attached handle can help. Apply one light coat, let it dry as directed, and inspect it under good lighting before deciding whether another is needed. Two thin coats are often easier to control than one thick coat, but the number of coats depends on the varnish and how the miniature will be used. Avoid filling fine sculpted lines simply to add more protection.
Let the finished model cure according to the varnish instructions before putting it into a crowded case or taking it to a game night. Dry to the touch does not always mean ready for repeated handling. When storing miniatures, give delicate parts room and keep painted surfaces from rubbing against one another. Sealing and sensible storage work together.
Fix common finish problems
A cloudy or frosted appearance can sometimes follow a heavy coat or unsuitable spraying conditions. Stop applying varnish, allow the layer to dry fully, and test a possible remedy on a spare piece before treating the miniature. Depending on the products, a carefully applied clear coat may improve the appearance, but no fix is guaranteed. Check the varnish maker’s guidance rather than adding several more coats at once.
If a brush-on coat dries streaky, use thinner, more even applications on the next model and avoid working over areas that are becoming tacky. If gloss looks out of place, a compatible satin or matte coat may reduce its shine; reserve gloss for details afterward. The best result is not necessarily the toughest-looking shell. It is a clear, controlled finish that supports the paintwork and leaves the miniature enjoyable to put on the table.