Plan around the empty space
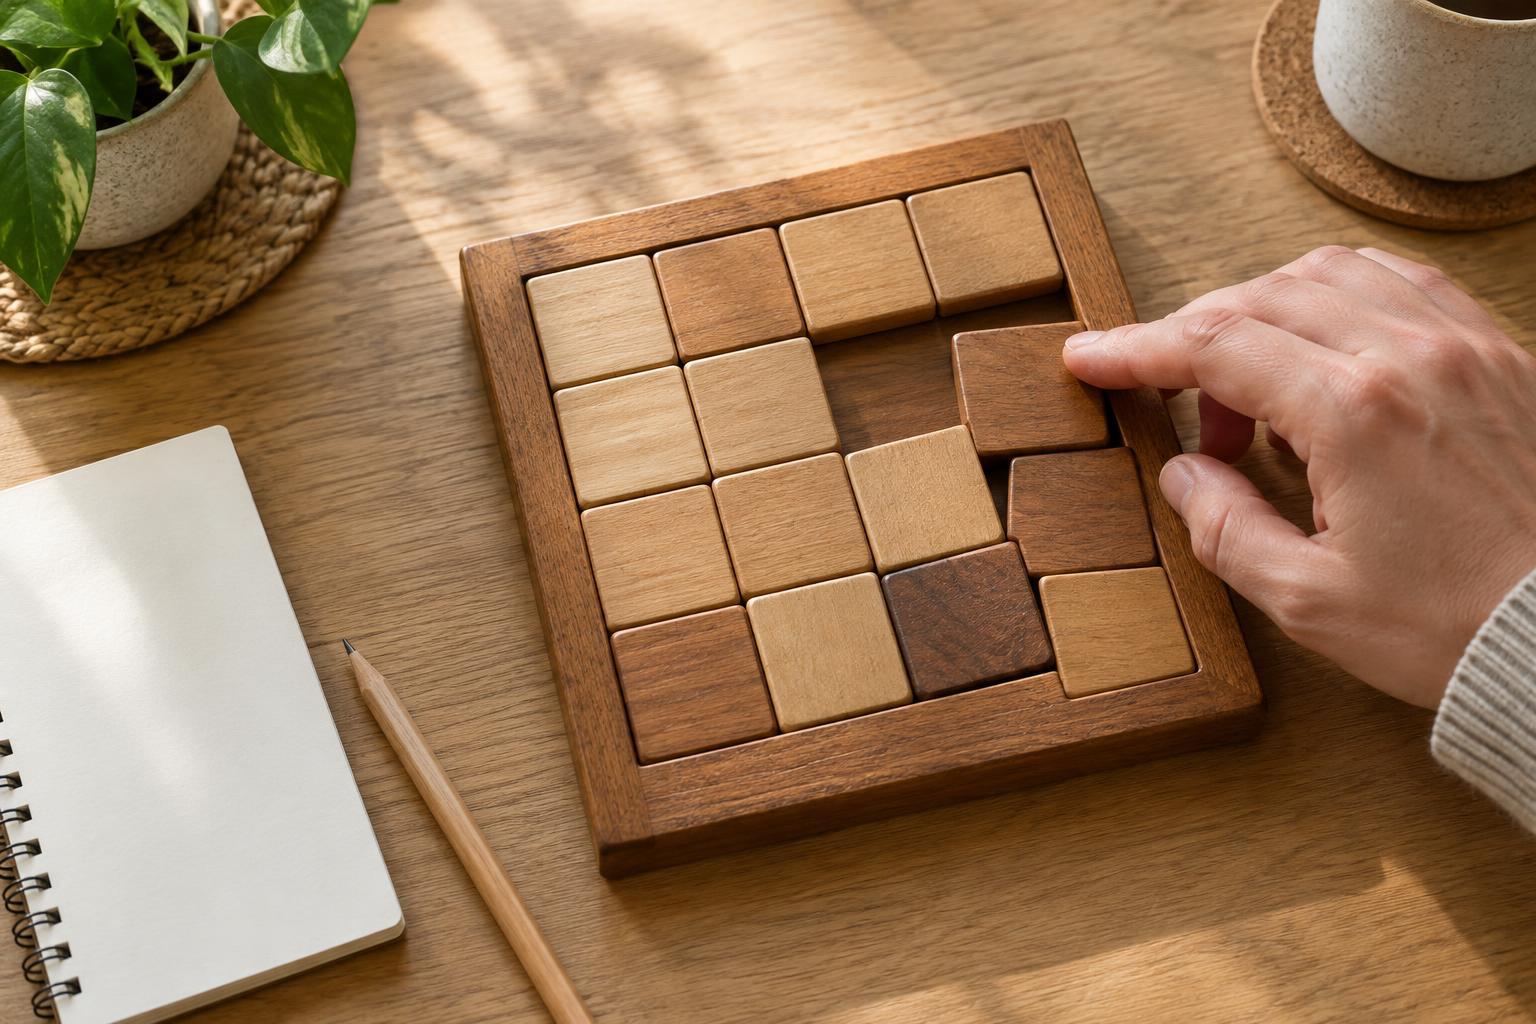
In a sliding tile puzzle, you move tiles by sliding one at a time into the empty space. That gap is more than a place to put the next tile: it is the tool you use to steer tiles around the board. Before each move, ask where the gap will end up and whether you can bring it back to the side of the tile you want to move next.
Start by deciding where every tile belongs. On a numbered puzzle, this usually means counting across each row in order, with the empty space in the final corner. If the puzzle uses a picture, identify the top edge and corners first. Keep the completed layout in mind, but work on only a small part of it at a time. Trying to improve the whole board with every move often leads to shifting a tile you had already placed.
Build a finished area, then leave it alone
A reliable approach is to solve from the top left. Place the first tiles of the top row while leaving the rest of the board open for maneuvering. To guide a tile toward its destination, move the gap around it and slide the tile one step at a time. Short loops of moves can be useful: they let you change a tile’s direction without sending it far across the board.
Once a tile is in its correct position, treat that square as closed. Plan routes through the unsolved part of the puzzle instead of moving the finished tile out of the way. A little extra travel for the gap is usually better than rebuilding a completed section. If you cannot reach a tile without disturbing one you placed, pause and check whether you closed off your working space too early.
Handle the last two tiles of a row together
The end of a row is where solving one tile at a time can trap you. Suppose only the final two positions in the top row remain open. Placing one tile directly in its correct square may leave the other on the wrong side, with no room to move it into place. Instead, think of the two tiles as a pair.
Use the open area below the row to arrange both tiles near their destinations. You may need to stage one tile in a nearby square rather than putting it straight into its final position. Then use the gap to slide the pair into the row in the right order. The exact moves depend on the tiles’ starting positions, so focus on the goal: both must be positioned before you close off that part of the board. If the pair enters in the wrong order, bring it back into the working area and rearrange it there.
Repeat this pattern for the next row if the puzzle is large enough. On a 4-by-4 puzzle, for example, you can finish the top two rows before turning to the bottom half. Keep checking that each row is correct from left to right, not merely that its last tile has reached the edge.
Work down the remaining columns
After the upper rows are complete, the unsolved area will be shorter and wider. Change direction: solve it from left to right, treating the two tiles in each column as a pair. Move them into position using only the unsolved squares to their right. As with the ends of rows, arranging the pair before closing the column gives you room to correct their order.
Eventually, you should have a small 2-by-2 area containing three tiles and the gap. Slide the gap around that square to cycle the three tiles until they reach their destinations. There is no need to break into the finished area. If circling the gap never produces the correct arrangement, recheck the nearby pairs and the intended layout rather than making random moves across the board.
Use a quick check before every risky move
When you feel stuck, stop sliding and name the purpose of your next few moves. Are you bringing the gap around a tile, arranging a pair, or placing a prepared pair into its final positions? If a move does none of those things, it may be worth reconsidering. It also helps to look at the boundary of your finished area: avoid crossing it unless you have deliberately decided to redo that section.
A puzzle assembled by swapping physical tiles rather than by sliding them may have a layout that cannot be solved through legal slides. For an ordinary shuffled puzzle, though, an awkward-looking endgame is usually a cue to revisit how you placed a row or column. The habit that matters most is simple: keep a flexible working area, and close it off only when the tiles at its edge are ready.