Start by reading the maze
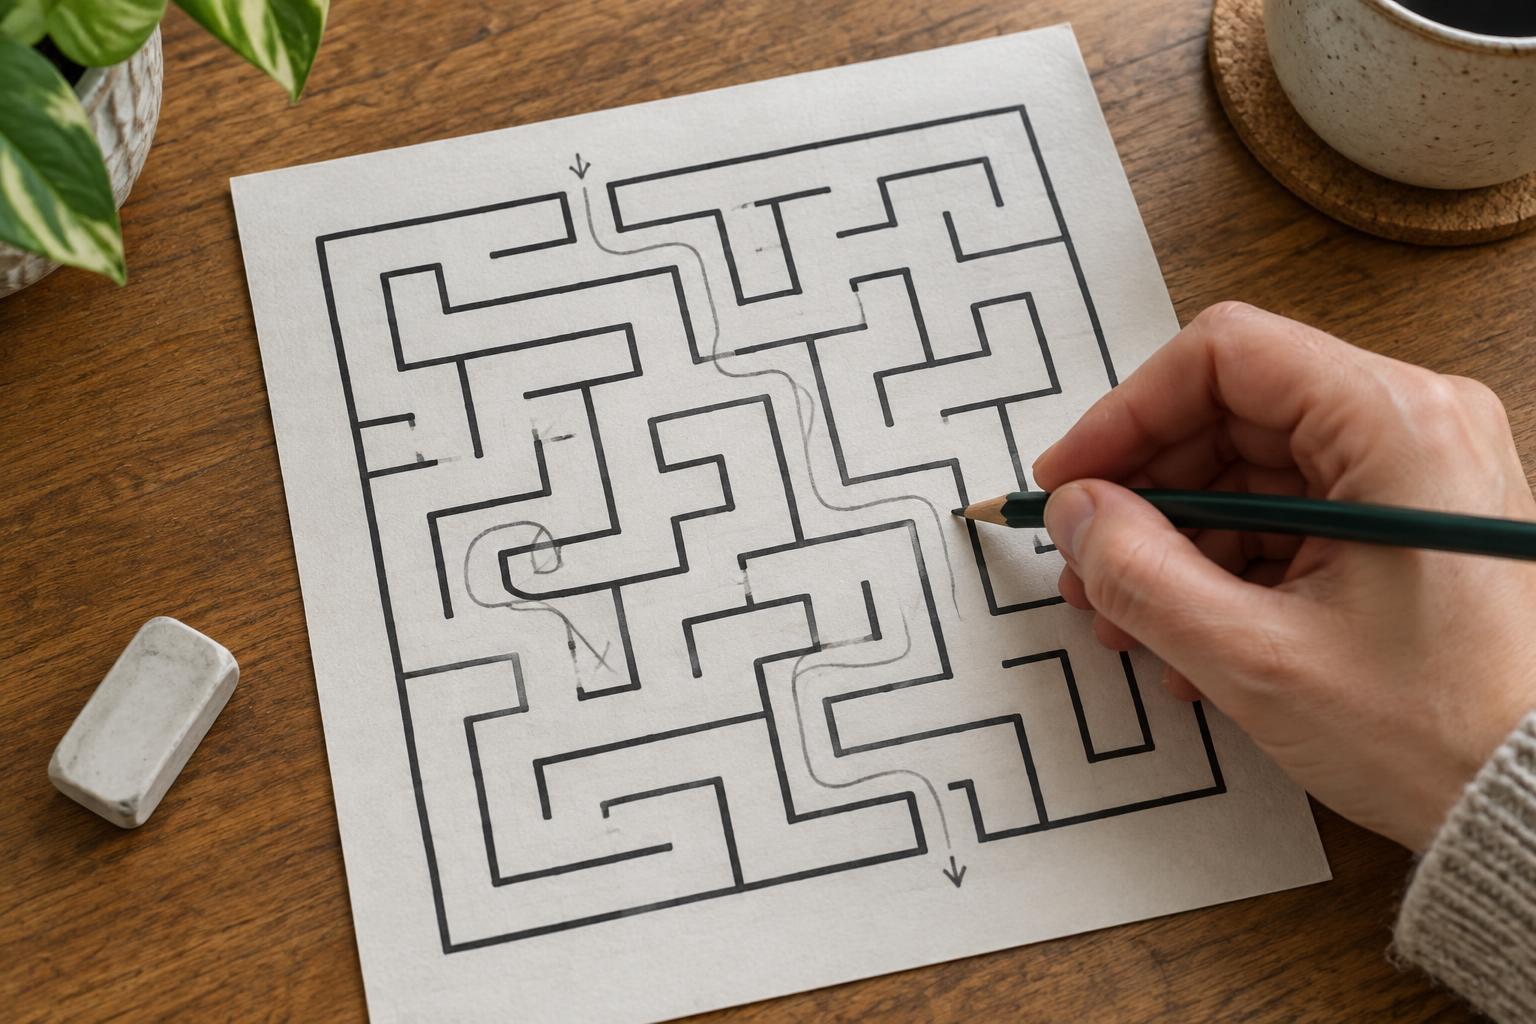
Before drawing a line, locate the entrance and exit. Check whether the maze is made of corridors between walls or lines that you must travel along. In most paper mazes, you stay inside the open corridors and never cross a wall. That sounds obvious, but narrow gaps and crowded junctions are easy to misread when you are moving quickly.
Scan the layout for junctions, loops, and areas with many short branches. You do not need to solve the maze by sight; this first look simply helps you choose a marking system. A pencil is useful because you can erase a mistaken move. If the page cannot be marked, trace with a finger and keep a separate note of the junctions you have tried.
Trace one route and record each choice
A reliable way to begin is to follow one corridor from the entrance until you reach a junction or a dead end. At a junction, choose one branch and make a small, consistent mark where you entered it. Continue until that branch either reaches the exit or gives you a reason to turn back. Then return to the most recent junction with an untried branch.
This is a form of backtracking: you explore a choice, and if it does not work, you return to the decision that led to it. Try to keep your route line near the center of each corridor. Avoid filling the corridor with dark scribbles, since you may need to see its other branches later. If you lose track of which way you came, pause and follow your existing line back rather than guessing.
Mark dead ends without hiding the maze
A dead end has only one way in and the same way out. Once you reach one, put a small X or short bar near its closed tip. As you retrace your steps, you can also mark the branch at its junction to show that the entire route has been checked. The exact symbol matters less than using it consistently.
Some mazes contain a chain of dead ends. If every branch beyond a junction has been ruled out except the corridor you arrived through, that junction has no unexplored route forward. Mark it as checked and continue backtracking. This lets you set aside a larger portion of the maze without repeatedly walking every short spur.
Do not label a long corridor a dead end merely because it seems to point away from the exit. Mazes often turn back on themselves. Follow a branch to a genuine stopping point, or until it reconnects with a place you already understand, before ruling it out.
Watch for loops and revisited junctions
A loop is different from a dead end: it can bring you back to a familiar junction without closing off the corridor. When that happens, mark the route as explored rather than blocked. Look closely at the junction where you return. It may have another branch you have not tried.
If loops make your tracing messy, number the major junctions lightly in the margin or beside the path. You can note a simple connection, such as “2 leads to 5,” on a spare sheet. This turns the maze into a small map of decision points. It is especially helpful when several corridors cross nearby on the page but do not actually connect. Only count a crossing as a junction if there is an open passage between the paths.
Choose a method that fits the puzzle
For a simple maze, steady tracing and backtracking may be all you need. Following one wall continuously can also be a useful experiment, but it is not a universal solution: depending on how a maze is laid out, it may lead you around a loop or fail to reach an exit on a separate boundary. If you stop making progress, switch to recording which branches you have explored.
For a dense paper maze, you can try working backward from the exit as well as forward from the entrance. Mark both routes differently so they remain easy to distinguish. If they meet in an open corridor, you have a complete path. Once you find one, trace it cleanly from entrance to exit and check every turn. The goal is not just to arrive—it is to leave yourself a route you can read.