Start with the material, not the model
The simplest rule is this: use plastic cement for compatible bare plastic parts, and super glue for resin, metal and many mixed-material joins. The tricky part is that “plastic miniature” can describe several different materials. A hard plastic kit on a sprue may be made from polystyrene, which standard model plastic cement can join. A flexible figure, a resin print or a piece sold as plastic terrain may behave differently.
If the packaging identifies the material, check it before reaching for a bottle. When you are unsure, try a tiny amount of adhesive on an unseen offcut or sprue piece rather than on a prominent detail. A test fit matters just as much: two parts that touch cleanly are easier to bond than parts separated by a large gap.
What plastic cement does best
Plastic cement is a solvent adhesive. On compatible plastics, it softens the surfaces so they can fuse as the solvent evaporates. That makes it especially useful for hard plastic figures, vehicles and terrain kits with snug-fitting joints. Thin cement can flow into a seam between parts held together; thicker varieties are easier to place on a peg or broad contact area before assembly. Follow the product’s directions, since application and drying times vary.
Use a small amount. Too much cement can soften nearby detail, leave marks or make a delicate part slide out of position. Dry-fit the pieces, apply cement to the contact points, then hold them steady while the join begins to set. Let the bond fully firm up before handling the model heavily. Plastic cement generally will not solve a resin-to-plastic or metal-to-plastic join, and paint between the parts can prevent it from reaching the underlying plastic.
Where super glue earns its place
Super glue, also called cyanoacrylate or CA glue, bonds surfaces rather than fusing the material beneath them. It is a practical default for resin and metal miniatures, and for attaching a resin or metal accessory to a plastic kit. It can also help with small mixed-material details, such as a decorative element mounted on a finished base. Because formulations differ, check the label for any material restrictions.
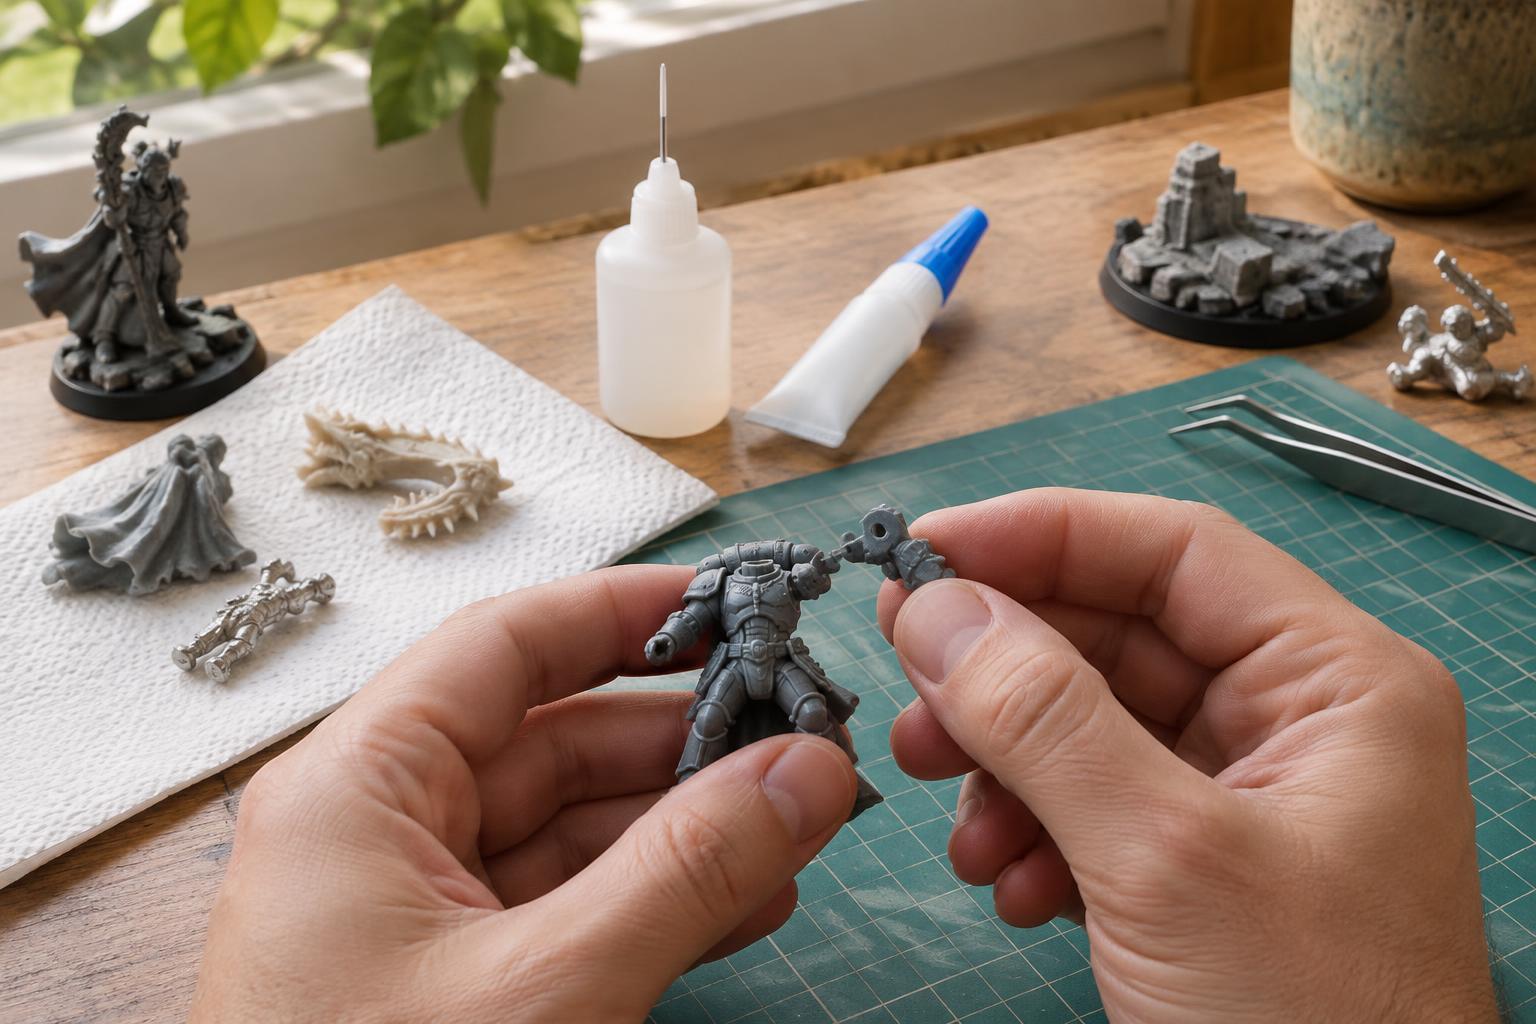
A thin, controlled layer usually works better than a large drop. Remove dust, mould-release residue or loose paint from the contact points, dry-fit the pieces, and apply glue to one surface. Press the parts together without shifting them. Super glue can grab quickly, but an apparently firm join may still need time before it can withstand painting or play. It can leave a pale haze on nearby surfaces, so use it sparingly around clear parts and finished paint.
Choose for the join you are making
For two bare, compatible hard plastic parts with a neat fit, plastic cement is usually the first choice. For resin to resin, metal to metal, or a resin accessory on a plastic model, reach for super glue. A plastic part attached to a painted surface also generally calls for a surface-bonding adhesive unless you can expose compatible bare plastic at both contact points. Check the kit and adhesive instructions whenever the material is uncertain.
Adhesive alone cannot make a poorly fitting joint strong. Trim away sprue nubs, scrape off excess material and check the alignment before applying glue. Large gaps may need a suitable filler after assembly. For a heavy piece with a tiny contact point, some hobbyists add a carefully fitted pin for mechanical support, but that is a separate modelling step rather than a reason to use more glue. Let the shape and weight of the parts guide the amount of support you need.
Keep the work tidy and comfortable
Work in a well-ventilated area and follow the warnings on the adhesive you are using. Keep bottles closed between applications, protect your work surface and keep adhesives away from children and pets. Avoid getting super glue on your skin or near your eyes; never try to pull bonded skin apart by force. If exposure occurs, follow the product guidance and seek appropriate help when needed.
For an easier assembly session, set out the parts in order and keep a few offcuts for testing. Decide which joins need plastic cement and which need super glue before opening either bottle. The goal is not to find one adhesive that does everything: it is to match the adhesive to the material, prepare the contact points, and give each join time to become sturdy.